Webchat
Webchat template create context
Setting the create context for receiving webchat traffic
What is the create context used for?
- In order to interact with end users through webchat you need to have a stub that manages incoming traffic
- The create context specifies actions that handle the first message a user sends from webchat
- A stub will be created from the create context and this stub will handle webchat events
What does the create stub do?
- The create stub will listen for when a new user sends a message
- The create stub will create a new stub to handle the conversation
Option 1: Setup a draft create stub for stubref routing
You will navigate to the create context and open up the canvas, you will then create an action called: _update_from_webchat
Your canvas should look like this:
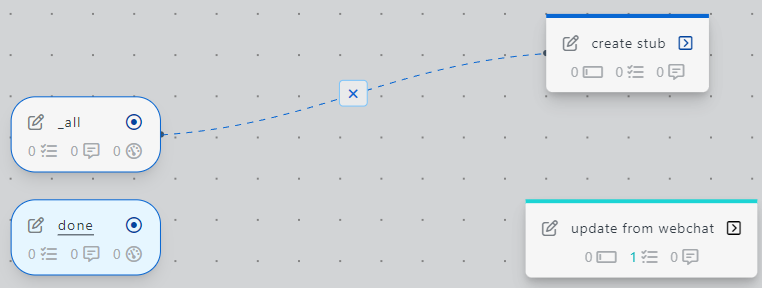
Configure create stub task
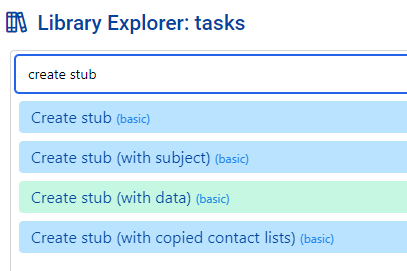
In action _update_from_webchat add the task create_stub (with data) from the task library
Data from Webchat service is placed in stub.data._incoming_webchat_data
To pass the data to the new stub we configure params.data._incoming_webchat_data to have the value ~~stubpost.data._incoming_webchat_data
You will replace:
With:
Our new stub will use the data in stub.data._incoming_webchat_data to send messages to the end user
Test webchat client
You will see that there was a draft stub that was automatically created for you to make use of, open that stub and click on the image below in order to copy it

In your webchat profile select the draft branch and enable Send webchat traffic to stub
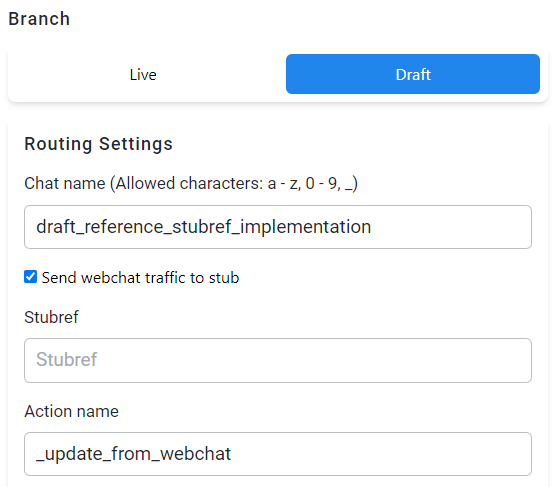
Paste your copied stubref into the stubref field
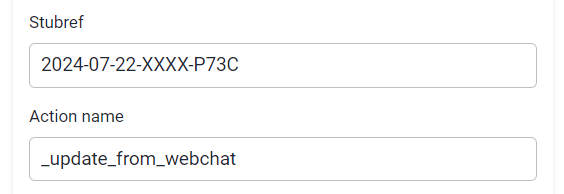
Open your webchat client and send a message.
After sending a message the webchat service will execute the _update_from_webchat action.
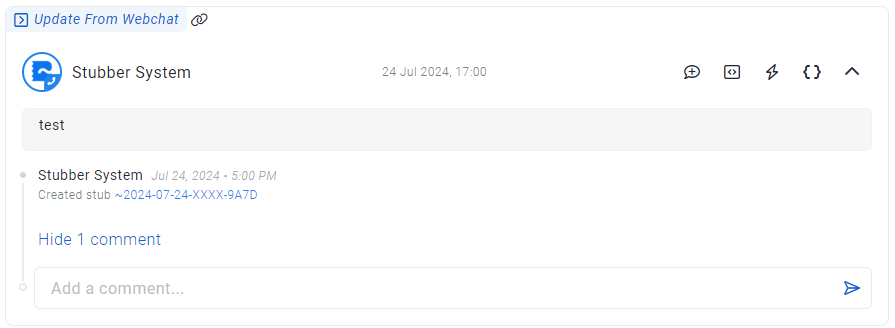
Your setup for stubref routing is complete. Back and forth conversation is handled by the default context
Option 2: Setup create context for Heimdall routing
If you have set up the routing using the previous option (Setup a draft create stub for stubref routing)
Navigate to the create context and create an action register_heimdall_paths
Your canvas should look like this when you are complete:
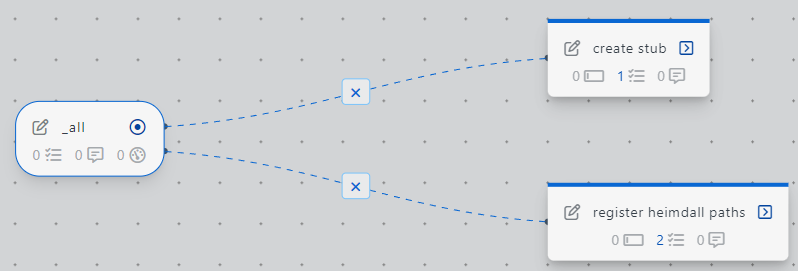
In register_heimdall_paths add the task heimdall_register from the task library
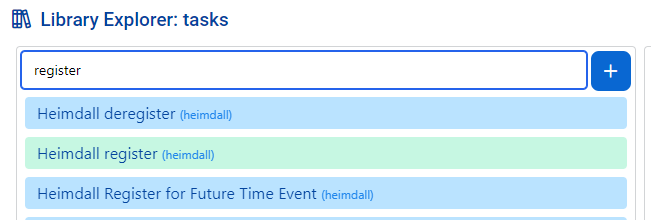
Configure heimdall register task
params.uuid
Provides a UUID for the specific Heimdall registration. It uses a helper function to generate a UUID. The parameters stub.stubref, stub.program.branch, and 'initial' are taken to generate a unique ID for the create stub.
params.events.webchat_initial_message.path
stubber.systems.notifications.webchat.org.{{stub.orguuid}} is used to listen to all webchat traffic for your org
stubber.systems.notifications.webchat.org.{{stub.orguuid}}.name.{{stub.program.branch}}_reference_heimdall_implementation is used to listen to webchat traffic from a specific Chat name.
The Chat name being {{stub.program.branch}}_reference_heimdall_implementation.
This will resolve to live_reference_heimdall_implementation on a live stub
This will resolve to draft_reference_heimdall_implementation on a draft stub
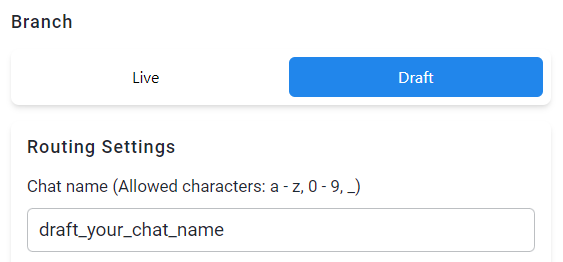
You will replace the chat name with the Chat name from your webchat profile
The new chatname being {{stub.program.branch}}_your_chat_name.
stubber.systems.notifications.webchat.org.{{stub.orguuid}}.name.{{stub.program.branch}}_reference_heimdall_implementation.webchatmessagetype.firstmessage is used to listen to the firstmessage sent by a webchat user.
params.trigger_stubaction.action_name
This is the name of the action the stub will run when the heimdall event is triggered.
We want to run create_stub
Configure create_stub action
In create_stub add the task create_stub (with data) from the task library

Configure create_stub task
params.data
Data from heimdall events are placed in stub.data.heimdall
Webchat data from heimdall events is placed in stub.data.heimdall.webchat
stubpost.data.heimdall will contain the new incoming data before it is merged into stub.data.heimdall
we want this data to be passed to the create stub as it contains the webchat session uuid
this uuid is used to reply to a specific webchat instance
To pass the data to the new stub we configure params.data._incoming_webchat_data to have the value ~~stubpost.data.heimdall.webchat
Our new stub will use the data in stub.data._incoming_webchat_data to send messages to the end user
Create a draft stub and test webchat client
Create a draft stub and run the action register_heimdall_paths 
Open your webchat client and send a message.
After sending a message heimdall will execute the create_stub action.
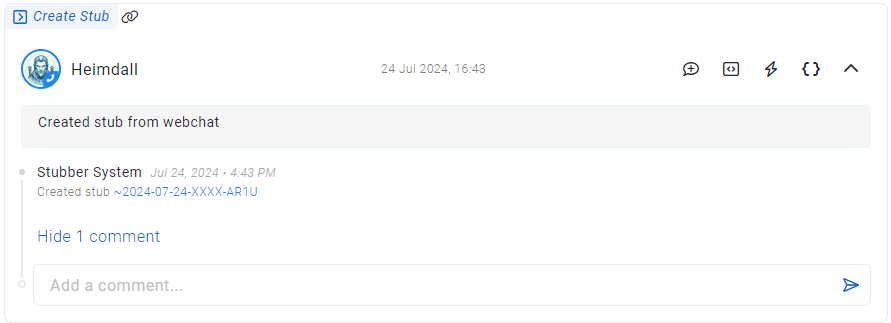
Your setup for routing on heimdall is complete. Back and forth conversation is handled by the default context
Conclusion: Routing complete
If you were able to complete either of the two options succcessfully you are now working on the default context and your webchat will automatically run your default context flow when entering the conversation. The next tab will give you more details on how to set up your default context in order to manage the conversation.