Guides
PBX Integration
PBX Integration with Stubber to enables your users to initiate calls from their PBX Extension.
Stubber has the ability to integrate with your PBX ( Private Branch Exchange) System, this level of operational efficiency reduces the need for your users to switch between systems when making calls.
click-to-dial is a feature that allows users to initiate a call directly from a stub, using their Organization's existing PBX System.
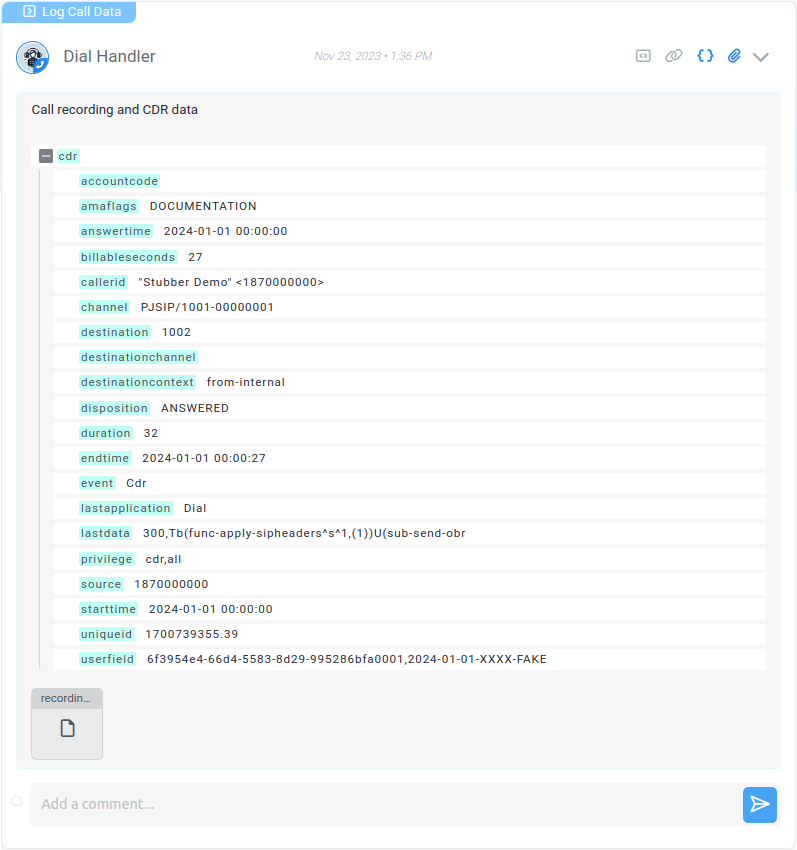
Feedback Actions provide a great mechanism to update stubs with the necessary data as well as the actual recording once the call has ended.
Setup
In order to integrate your PBX with Stubber you will need the following:
- A PBX System that supports the Asterisk Manager Interface
- Root access to your PBX System
1. Contact the Stubber PBX Integration Team
Contact the Stubber PBX Integration Team to assist configuring a PBX profile for your Organization. The team they will provide you with the following:
STUBBER_ORG_UUID- The UUID of the Organization you wish to integrate withSTUBBER_PBX_UUID- The Stubber generated UUID of the PBX created in the OrganizationSTUBBER_API_KEY- Unique API Key provided by Stubber
2. Docker Installation
The easiest way to get started is to use the Official Docker Installation Guide.
3. Create a Docker Compose File
Create a docker-compose.yml file in the /srv/stubber/stubber-asterisk-client directory:
Once the file is open, paste the following into the file:
Ensure that you replace the following environment variables with the correct values:
STUBBER_ORG_UUID- The UUID of the Organization you wish to integrate withSTUBBER_PBX_UUID- The Stubber generated UUID of the PBX created in the OrganizationSTUBBER_API_KEY- Unique API Key provided by Stubber
4. Start the Docker Container
Once you have created the docker-compose.yml file, you can start the container by running the following command from the /srv/stubber/stubber-asterisk-client directory:
The stubber-asterisk-client container will now start-up.
On first run, docker will download the latest stubber-asterisk-client image and configure the Asterisk AMI to accept connections from the stubber-asterisk-client.
Organization and PBX specific configuration files will be retrieved automatically and appended to the /etc/asterisk/ directory.
Once the setup is complete, the Asterisk service should be restarted before running the following:
5. Verify the Integration
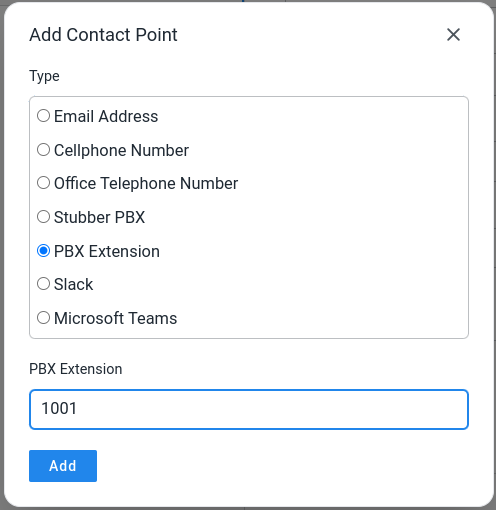
Once the stubber-asterisk-client container has started, you can verify the integration by navigating to your Stubber contact and assigning a new contact point of type PBX Extension with your specific Extension Number.

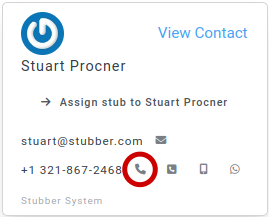
Navigate to the stub and click on the phone icon button to initiate a call from your PBX Extension to that specific contact's number.

Finally, the call recording will be automatically uploaded to the stub once the call has ended.

Advanced Configuration
Please refer to the Dial Notification documentation for more information on how to configure the dial notification.