Webchat Template
Default Context
Explains Webchat default context setup for ongoing conversations. Useful for managing continuing chat interactions and stubsession behavior.
The default context handles the ongoing conversation after the initial connection is made.
What is the Default Context Used For?
- Handle interactions between the user and other systems in stubber
- React and respond to the user's incoming messages
- Create a
stubsessionbetween the new stub and the webchat session for ongoing communication
Setting Up the Default Context
Navigate to default context and click on
Edit FlowCreate Basic Flow Structure
- Create a state called
pending-message(This will be the state that the stub will be in when replying to messages) - Add an action called
reply(This action will send a message to the webchat client) - Add an action called
_create(This action runs when the stub is created) - Add an action called
_update_from_webchat(This action will be used to trigger a reply when a user sends a message)
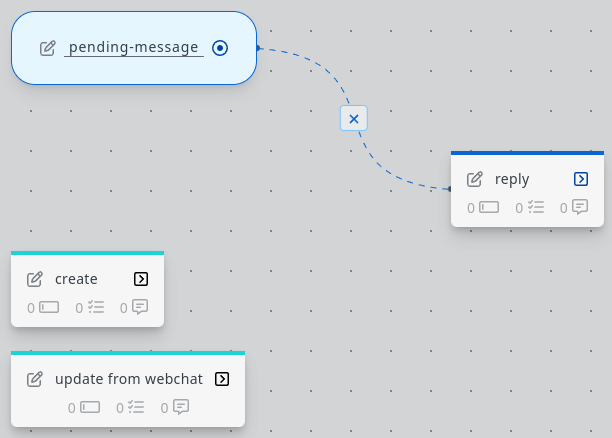
- Create a state called
Configure the Reply Action
In the
replyaction, add theWebchat notification to sessionfrom the library and configure it as follows:Set
webchat.sessionuuidto~~stub.data._incoming_webchat_data.sessionuuidso the notification reaches the correct client.Configure the _create Action
In the
_createaction, add the taskSend actionfrom the library and configure it as follows:This triggers a reply when the new stub is created. Once the reply is sent, a stubsession is created between the new stub and the webchat client, routing all future messages into the
_update_from_webchataction.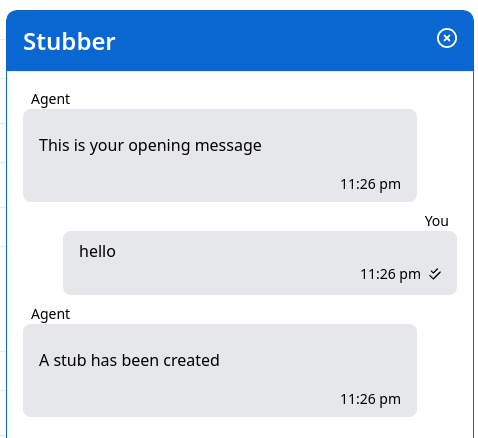
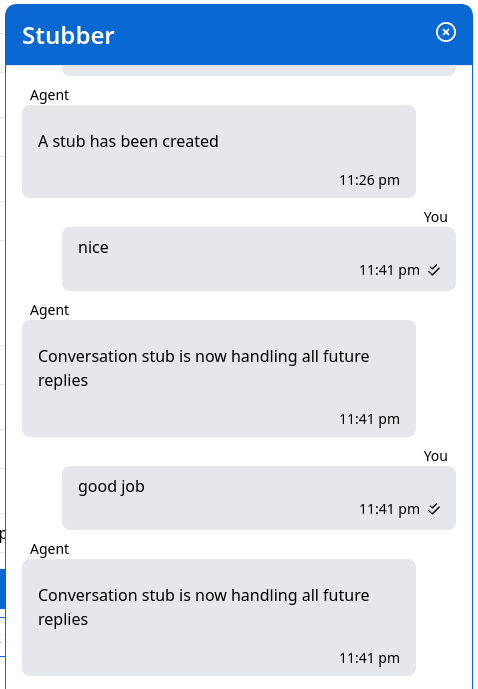
Configure the _update_from_webchat Action
To respond to future messages, add the task
Send actionto_update_from_webchat:Now all future messages will be handled by the conversation stub: