Editor
Managing Articles
Creating and managing articles in your Knowledge Library.
Creating an Article
You will have to grant permission to create articles to your team using the Manage app. See Teams and Permissions for more information.
Go to the Editor and click on the + icon, then select Create new article.
This will prompt you for the following information:
- Article Name
- Enter the name of your new article
- Article Description (Optional)
- Enter a description of your new article
- Room
- The room where the article will be created
- Defaults to
_org
- Shelf
- The shelf where the article will be created
See Knowledge Library Articles for more information on the organizational structure of the Knowledge Library, specifically the concept of Rooms and Shelves.
After creating an article, it will be listed in the list of items in the Editor.
Clicking on the article will take you to the following page:
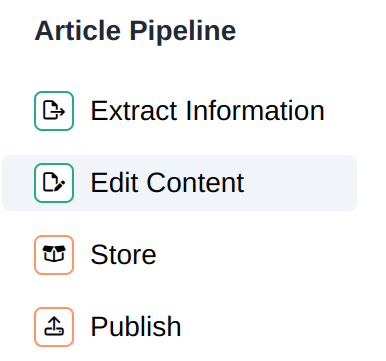
Article Content Pipeline
Articles are setup and used by following a series of steps, namely:
- Extract Information
- Edit Content
- Store and Publish
As each step is completed, that step will be turned green indicating that it is complete.
See the following sections for more information on each step.
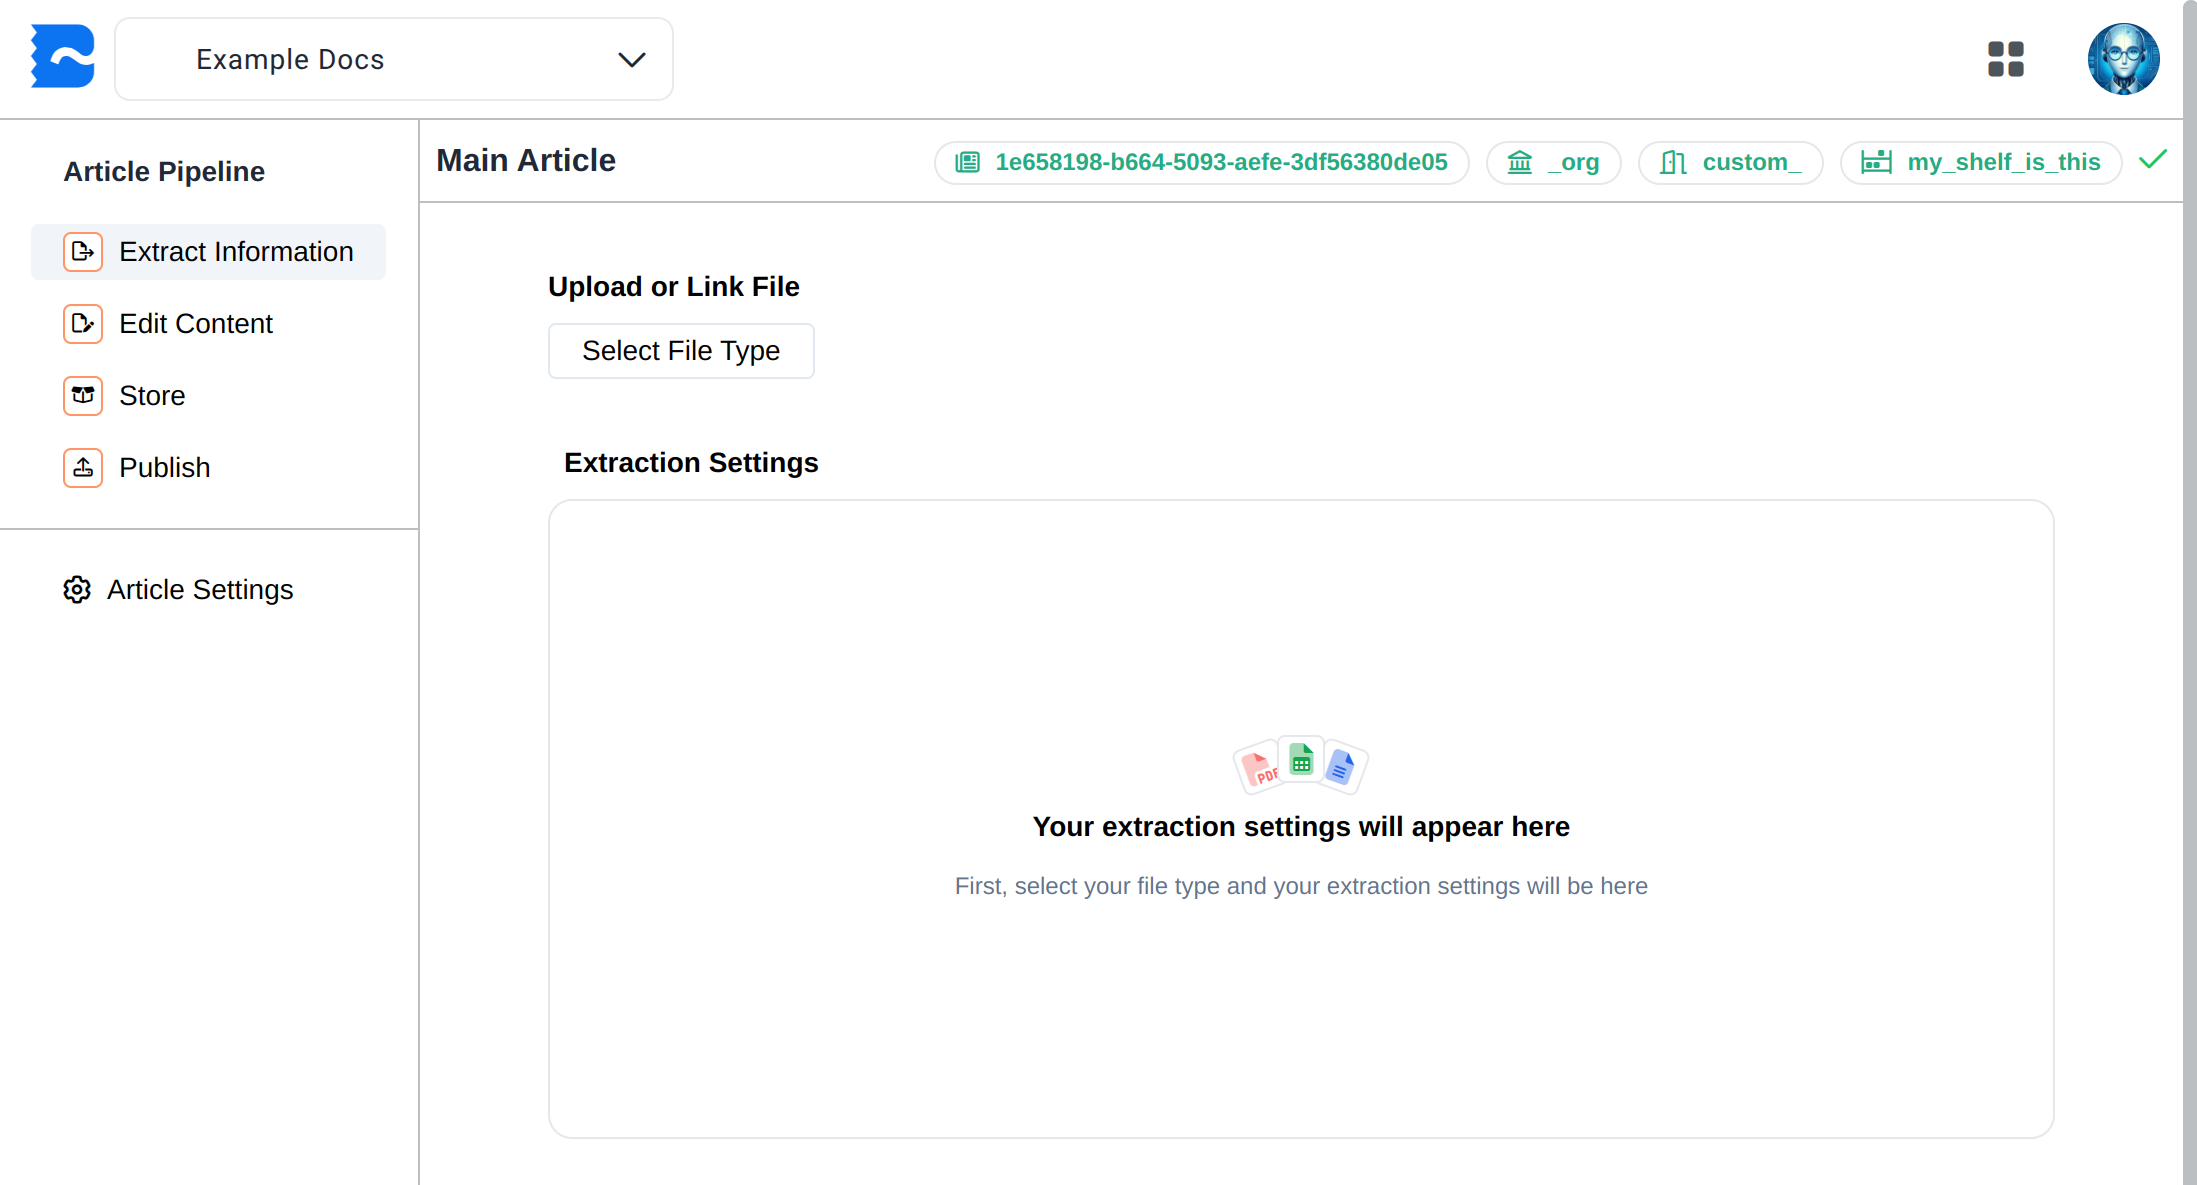
Extract Information
This page is where you can extract information from existing sources and add it to your article.
These options are available:
- Manual
- This option allows you to manually enter text info into the article.
- Web Address (URL)
- Allows you to enter a URL, and Stubber will extract the text from the page.
- File Upload
- Allows you to upload a PDF file, and Stubber will extract the text from the file.
Once you've extracted the information, it will be presented to you, and you can choose to apply it to the article or discard it.
Extraction Settings
Parse Mode
- Accurate
- Accurate Mode is great for everyday documents that include a mix of images, tables, and text. You get reliable formatting without any extra setup.
- Premium
- Premium Mode is designed for complex, highly formatted documents—things like scanned financial reports, research papers, or anything with charts, tables, and diagrams. It gives you the most accurate and structured results.
- Continuous
- Continuous Mode can be used if your document has tables spanning across multiple pages, as this best keeps the table structure intact.
- Accurate
Parsing Instruction
- Optional instructions (system prompt) to give to the LLM parsing the document.
Is Formatting Instruction
- If
true, the parsing instruction will be treated as a formatting instruction, which means it will be used to format the extracted text. - If
false, the parsing instruction will be treated as a content instruction, which means it will be used to extract the content from the document.
- If
Disable OCR
- If
true, the OCR (Optical Character Recognition) will be disabled, which means that the document will not be processed for images or scanned text. - If
false, the OCR will be enabled, which means that the document will be processed for images and scanned text. - Improves processing speed, but may result in loss of information if the document contains images or scanned text.
- If
Skip Diagonal Text
- If
true, the diagonal text in the document will be skipped, which means that the text will not be extracted from the document. - If
false, the diagonal text in the document will be extracted, which means that the text will be extracted from the document.
- If
Do Not Unroll Columns
- If
true, columns in the document will not be unrolled, which means that the columns will be preserved as they appear in the document layout. - If
false, columns in the document will be unrolled, which means that the text will be merged into a natural reading order.
- If
Page Suffix
- Allows providing a string that will be appended to the end of each page in the document.
- Can use
{pageNumber}to include the page number in the suffix. - Example:
--- Page {pageNumber} ---will append a page break with the page number at the end of each page.--- Page 1 ------ Page 2 ---- etc
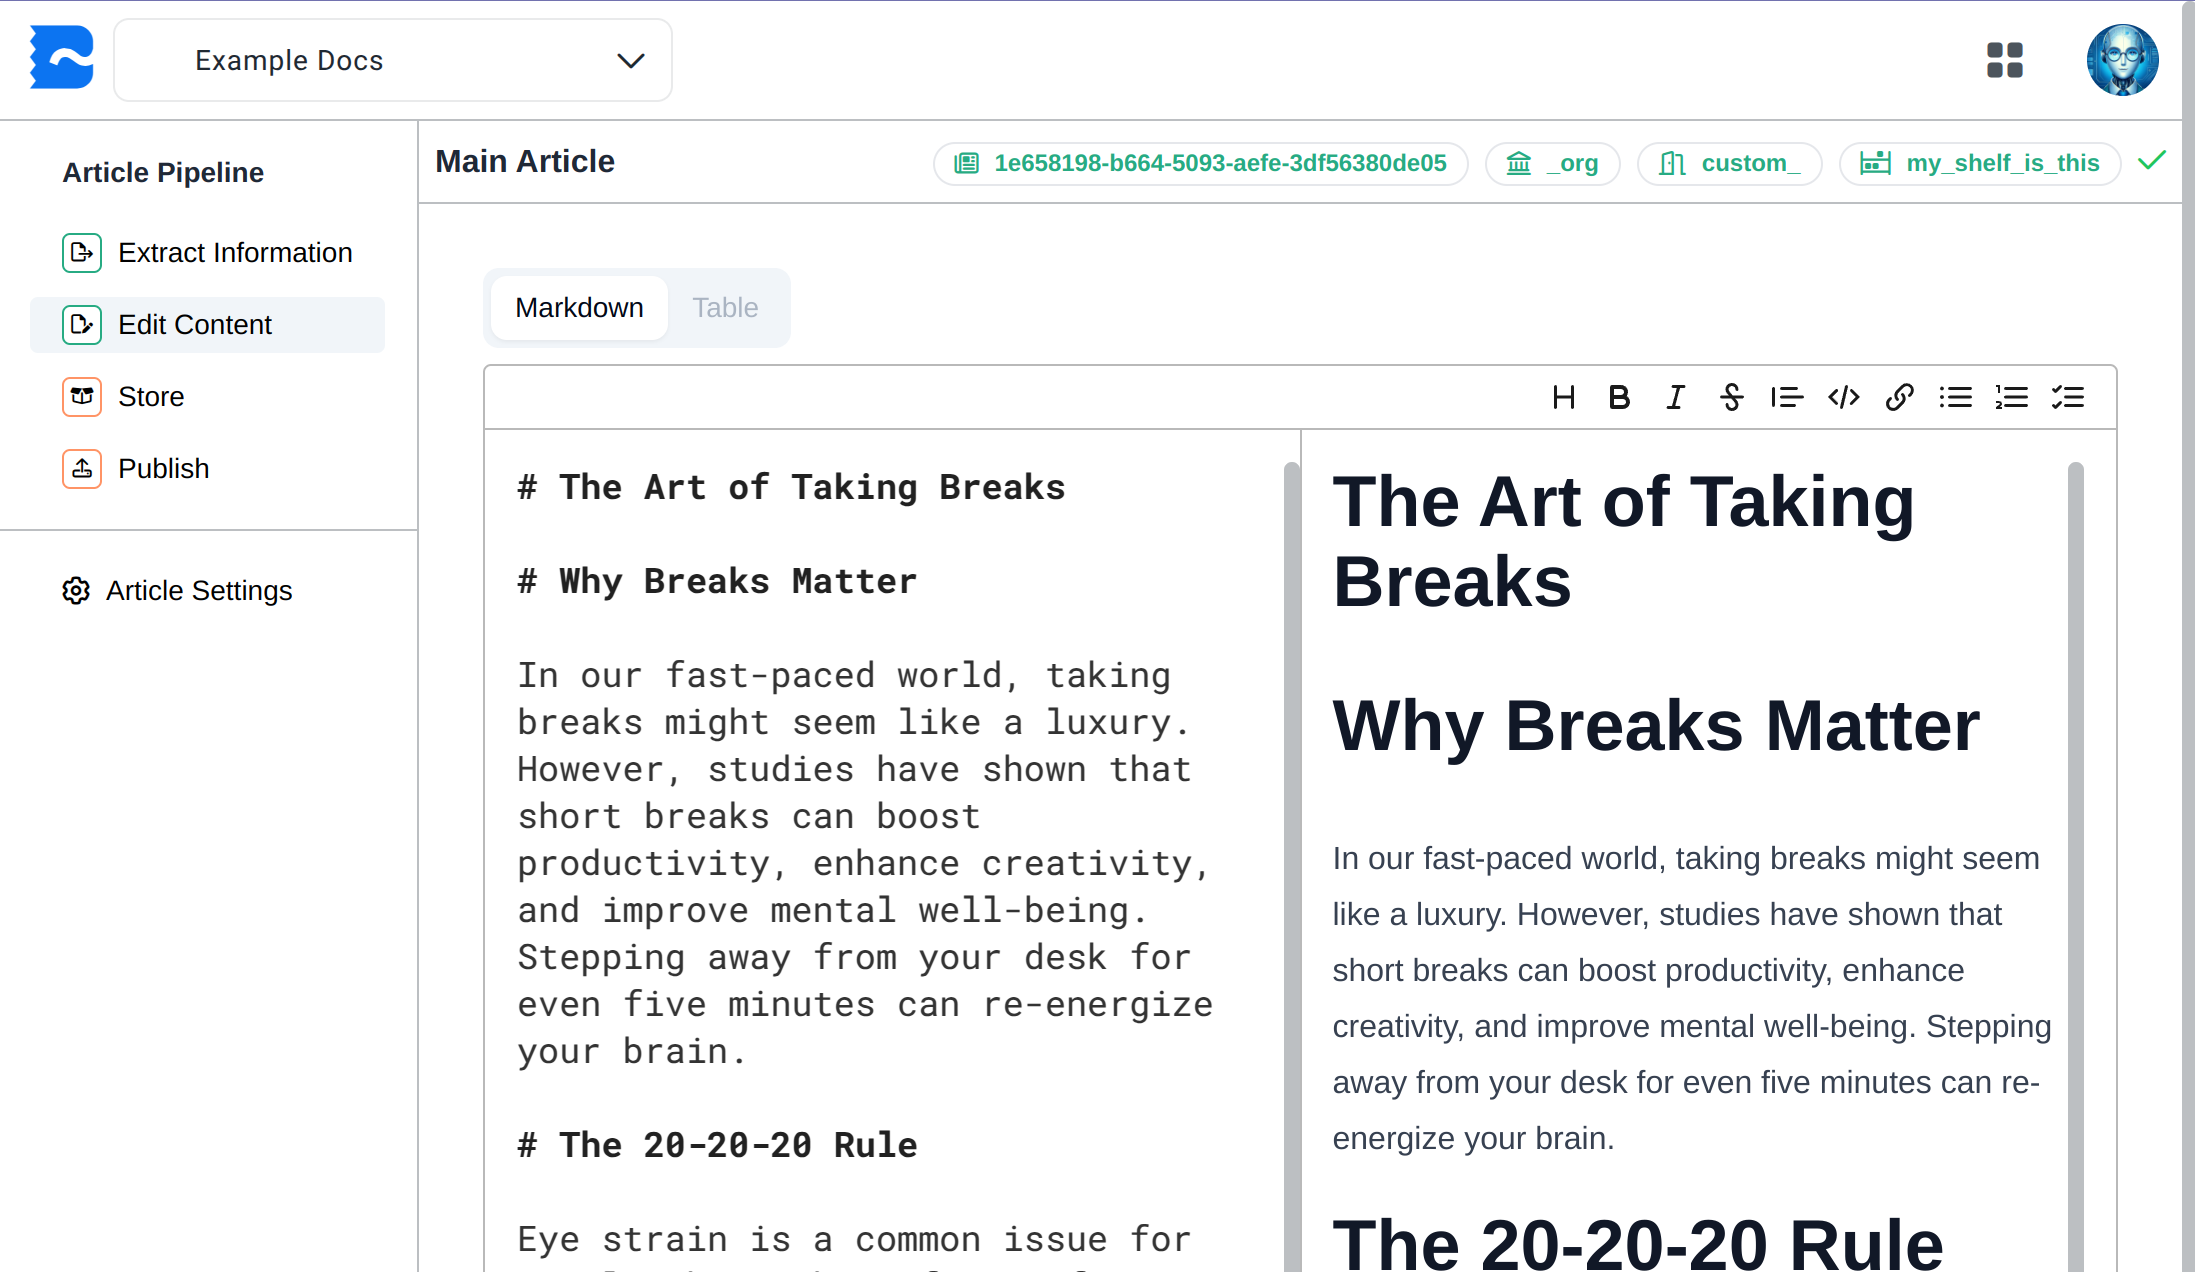
Edit Content
This page is where you can edit the content of the article. For example making any manual adjustments after extraction or updates since the initial extraction.
Depending on your content type, you will be presented with a relevant editor, currently Markdown or Table (for csv data).
Store and Publish
Articles need to be embedded to be used by the Knowledge Library.
Storing an article will embed it into the draft branch of the Knowledge Library.
Publishing an article will move it to the live branch of the Knowledge Library.
You can also determine what library, room, and shelf the article will be stored in, as well as the chunk size used to split the article into smaller pieces.

As seen above, the Chunk Size is used to split the article into smaller pieces, which are then stored in the Knowledge Library, visualized using different colors.
Publishing is typically done after the article has been reviewed and is ready for public consumption by live stubs
Explore Knowledge Library
The editor also provides a file browser to explore the structure of your Knowledge Library, including Rooms, Shelves, and Articles.
Accessed via the Knowledge Library section of the left sidebar.
This allows you to drill down from the Library level, to the Room level, to the Shelf level, and finally to the Article level.