Create Your First Template
Creating a template from scratch
In this section, you will learn how to build a student registration flow in Stubber from the ground up.
This page will guide you through the process of creating a student registration flow in Stubber from scratch. The tutorial is designed to help you understand the fundamentals of building templates in Stubber, including how to create states and actions, configure them, and connect them into a working flow.
Note that building from scratch is usually best reserved for learning or exceptional cases. In most cases, it is faster to start from a library template and then adapt it. Still, building from scratch is a very good way to learn the core concepts.
What you will build
By the end of this tutorial, you will have a student registration flow with the following structure:
The flow will collect student details, generate a student number, send a confirmation email, and then mark the registration as complete.
Step 1 - Create a new template
Open the Builder and create a new template by clicking the add button in the top left and selecting Create new template.
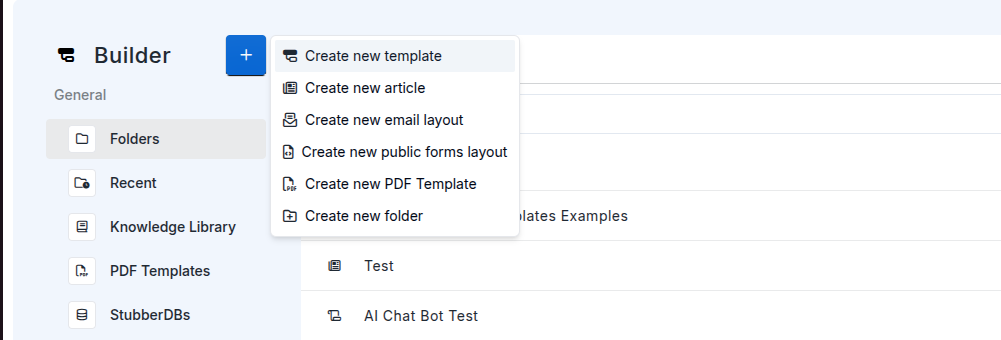
Scroll down and select the Blank template option, which allows you to create a template without any pre-generated content.
![]()
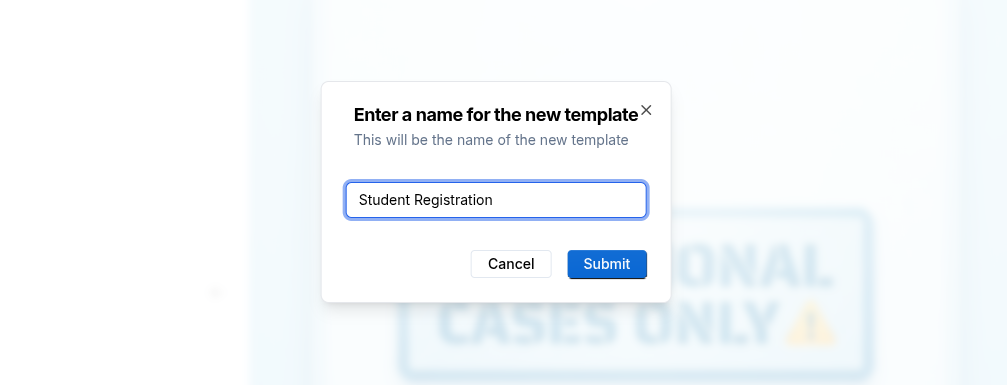
Then click on Add Template. You will be prompted to name your template and provide a description. For this tutorial, use the name Student Registration. Once you have entered the name and description, click on Submit.
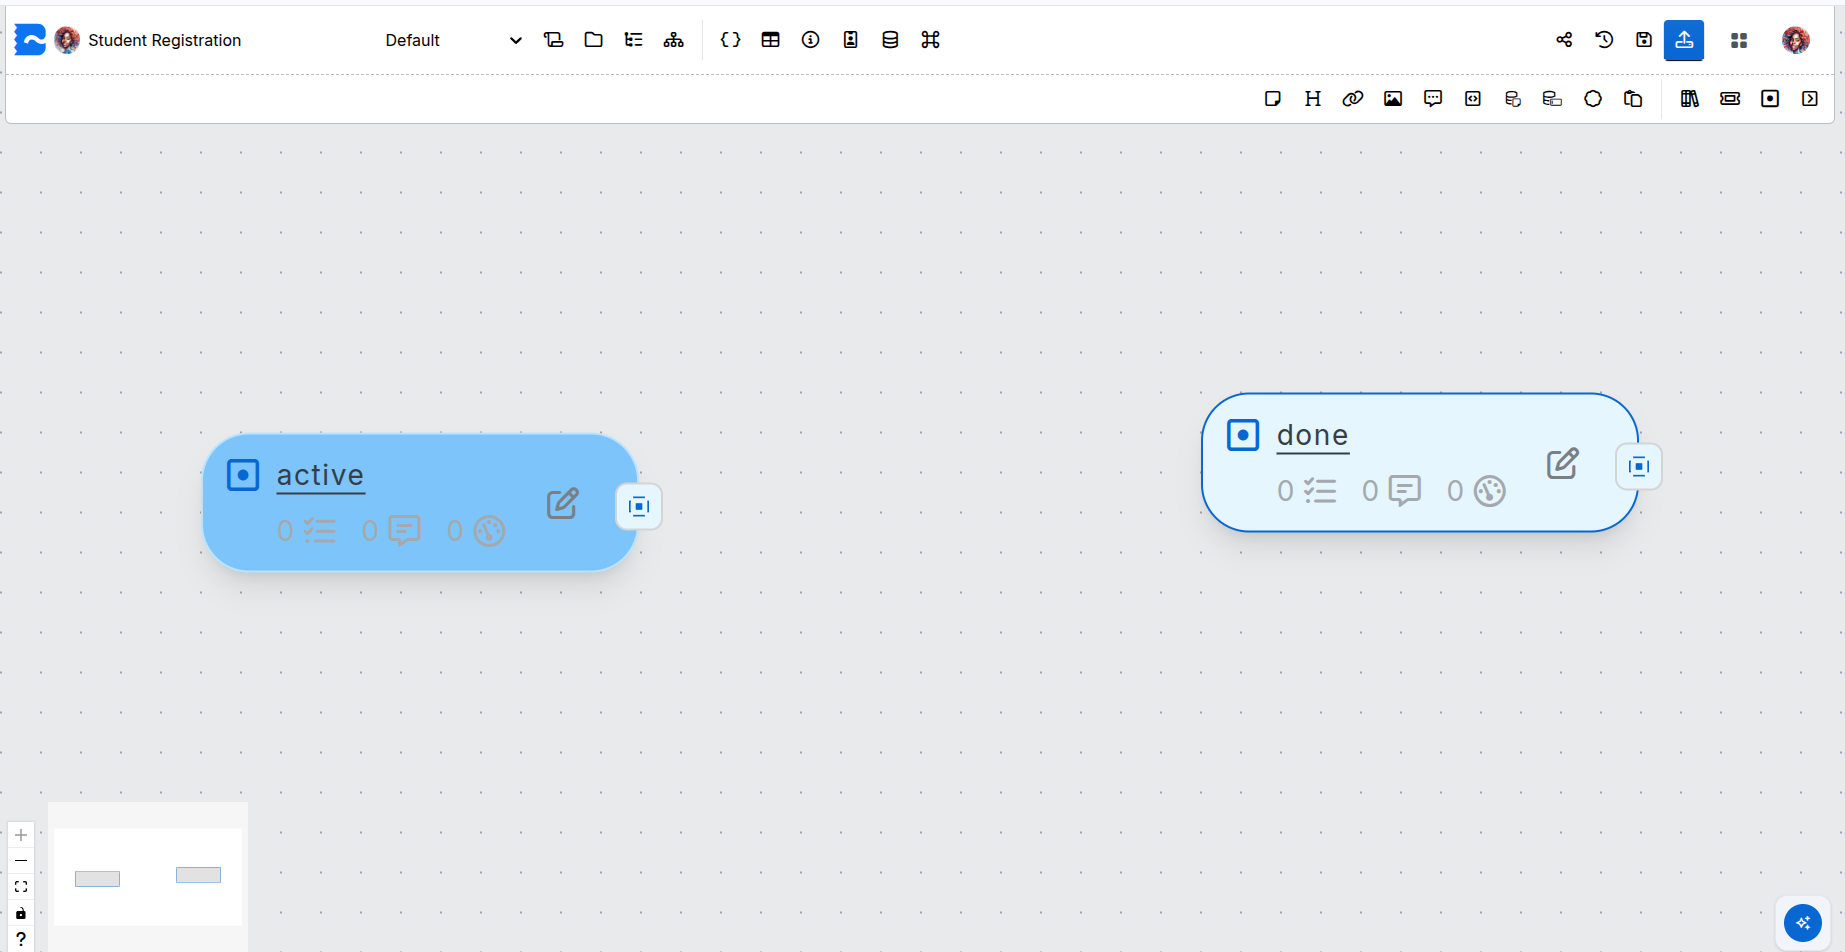
You will then be redirected to a loading screen. Once the template is ready, you will be redirected to the Builder canvas with your new template open and ready for editing. If the loading screen persists for too long, you can click the Go to default flow button to open the template.

On the blank canvas, you should already see the default
Step 2 - Identify the start and end of the flow
Before building the flow, it is important to identify where the process begins and where it ends.
As mentioned in the Overview, every flow in Stubber requires:
- A start state — where the process begins.
- An end state — where the process is considered complete.
For this student registration flow:
- The start of the process is when a registration is active and ready to receive student information.
- The end of the process is when the student has been registered successfully.
The template already includes the default
Step 3 - Identify the first action
For this student registration process, the first action we need is one that captures the student's information. A good action name is
This follows the Stubber action naming standard because it is verb-led and it makes sense in the sentence: I want to capture student information.
Step 4 - Create the first action
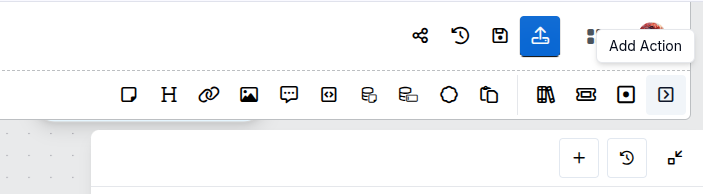
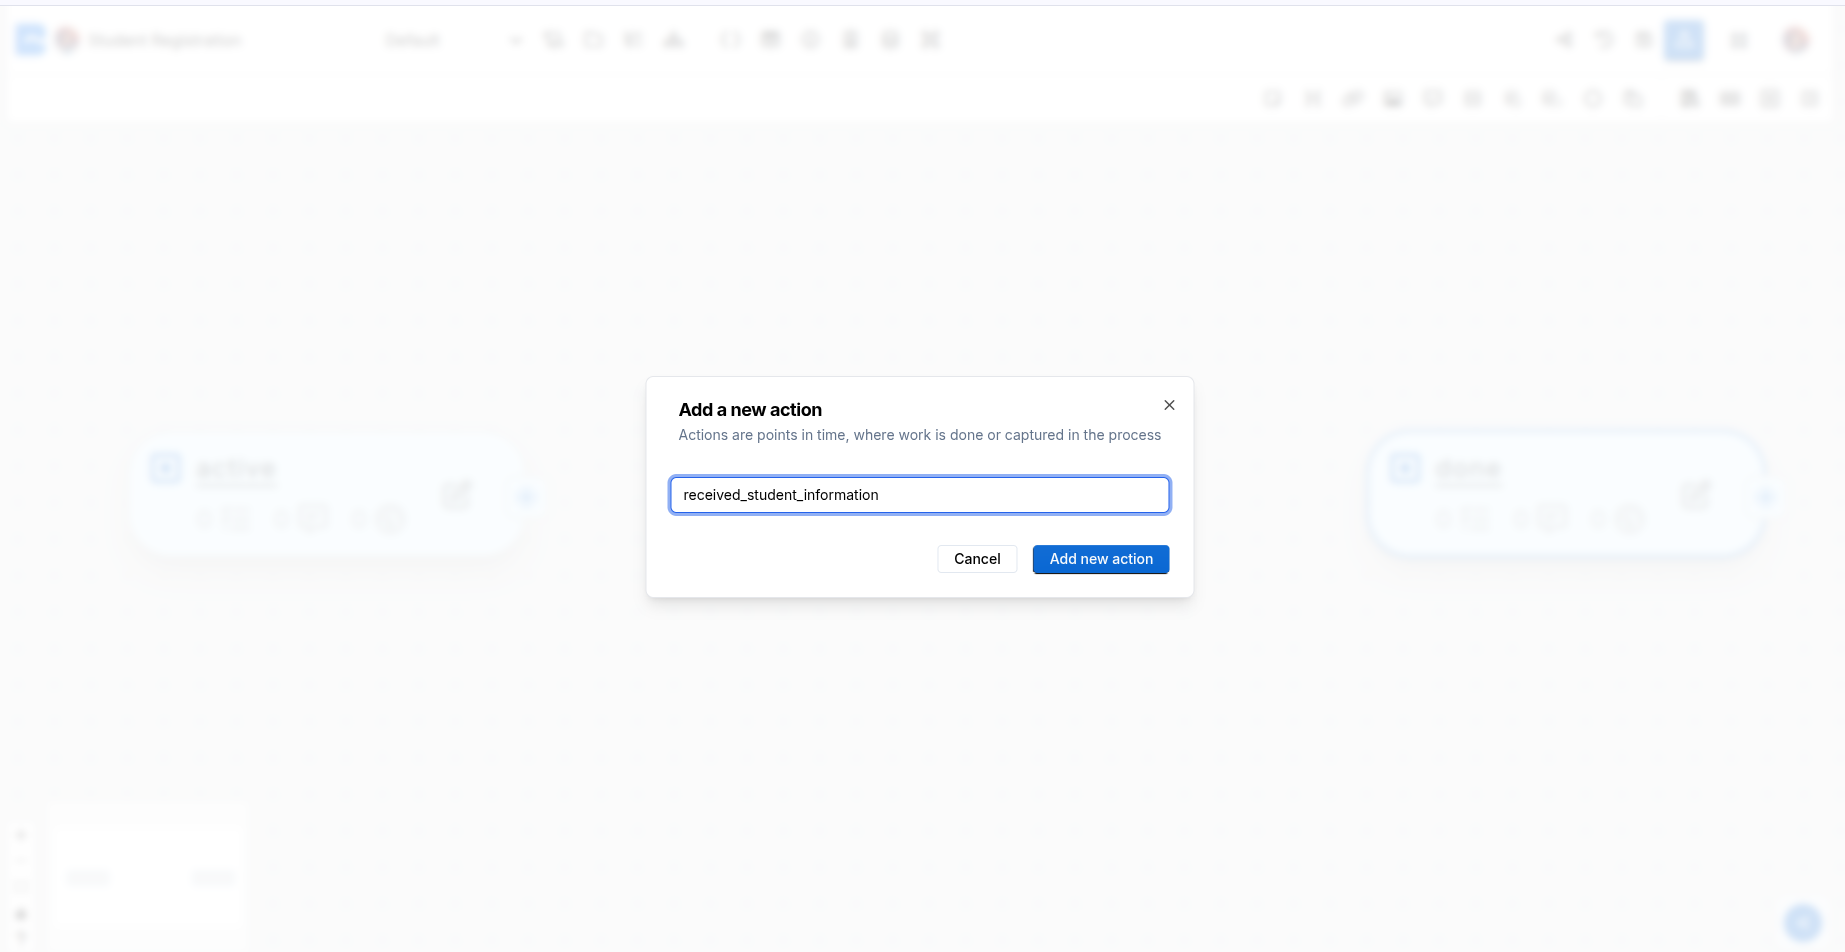
Locate and select the Add Action button on the toolbar, or alternatively press Control + Enter.
Give the action the name capture_student_information.
Tip: A good way to check an action name is to place the words I want to in front of it. If the sentence makes sense, the action name is usually on the right track.
Once you have entered the action name, click on Add new action.
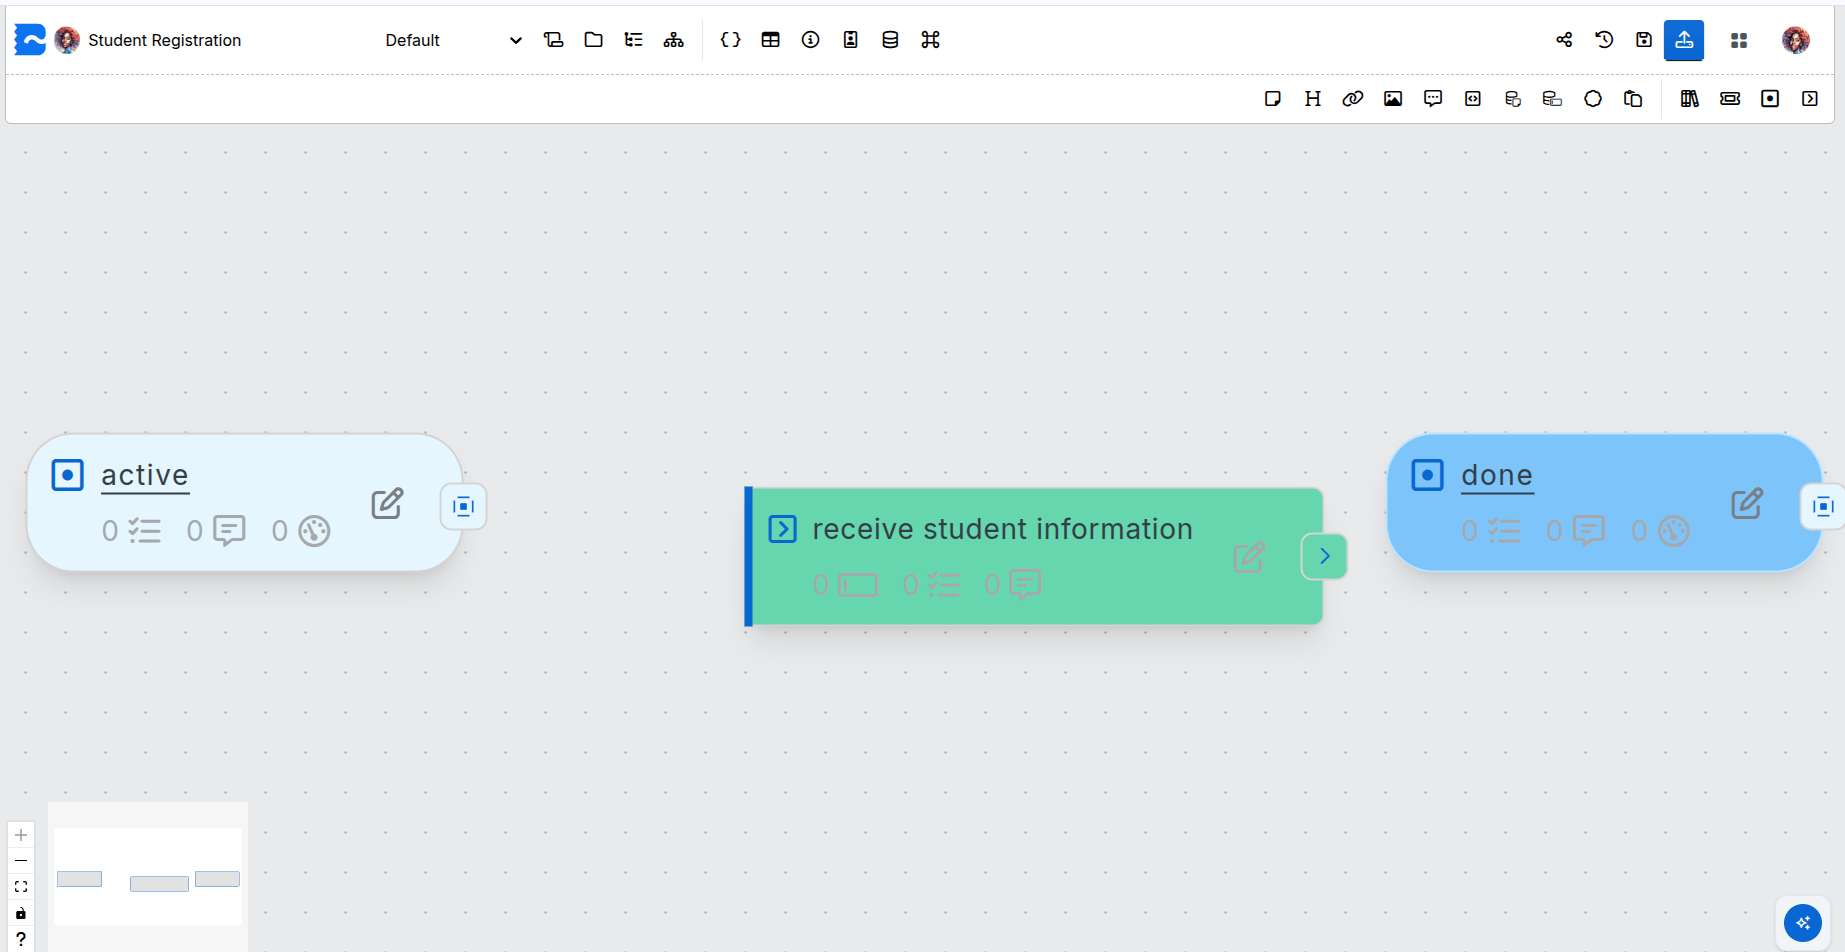
The newly created action should appear on the canvas, highlighted in green. Feel free to move the action to any position on the canvas.
Note: A newly created state or action will remain green until it is moved.
Step 5 - Configure the first action: Add fields
Now we can configure the
In Stubber, data is collected using fields, which are added to the action’s configuration.
To configure the action, click the edit button on the action, then select the Fields tab. Alternatively, you can click the action’s View fields button to go directly to the fields tab.
On the Fields tab, click on Add Field.
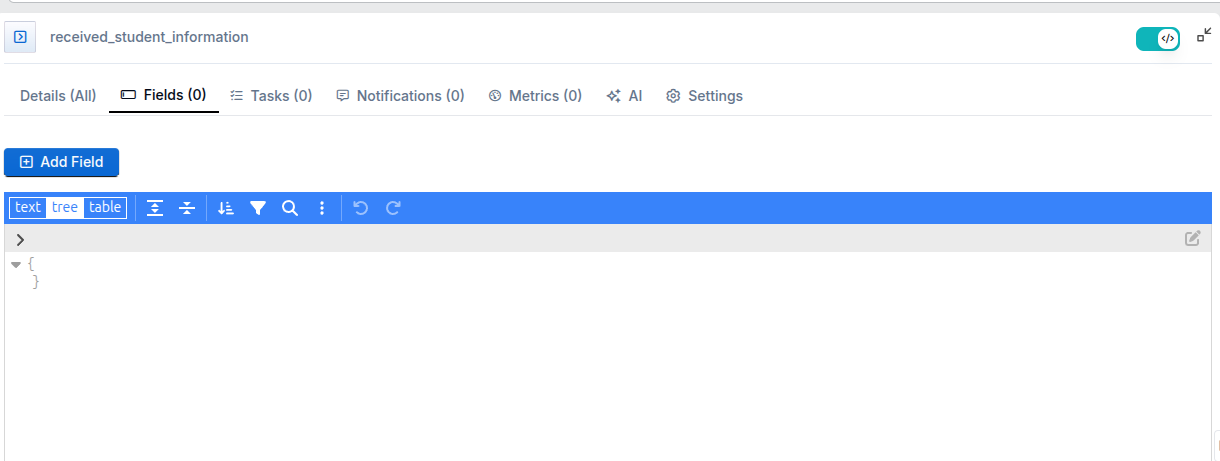
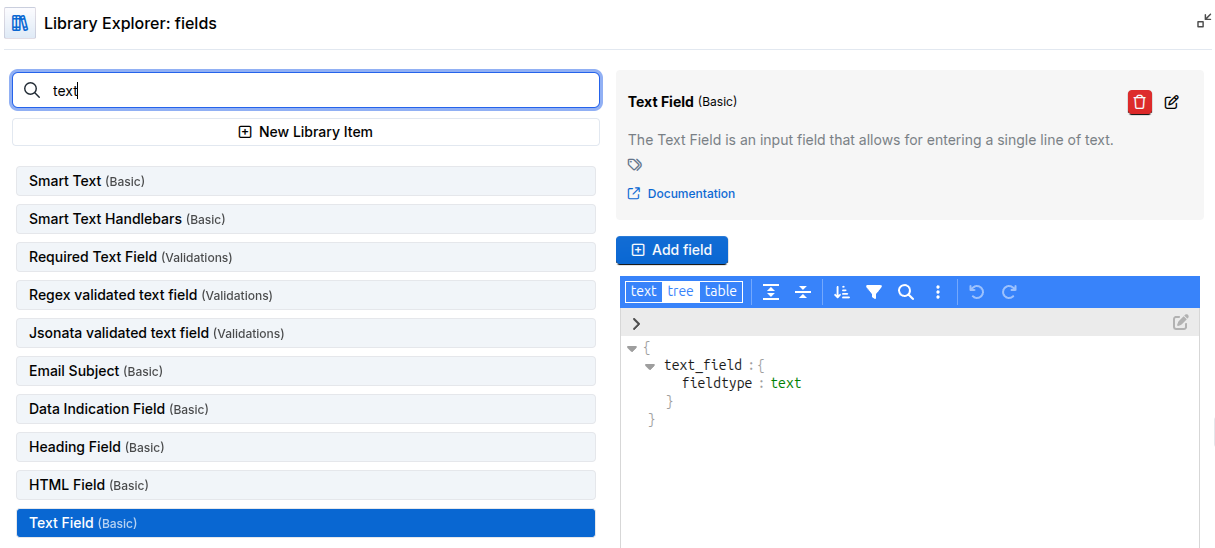
You will now see a list of field types to choose from.
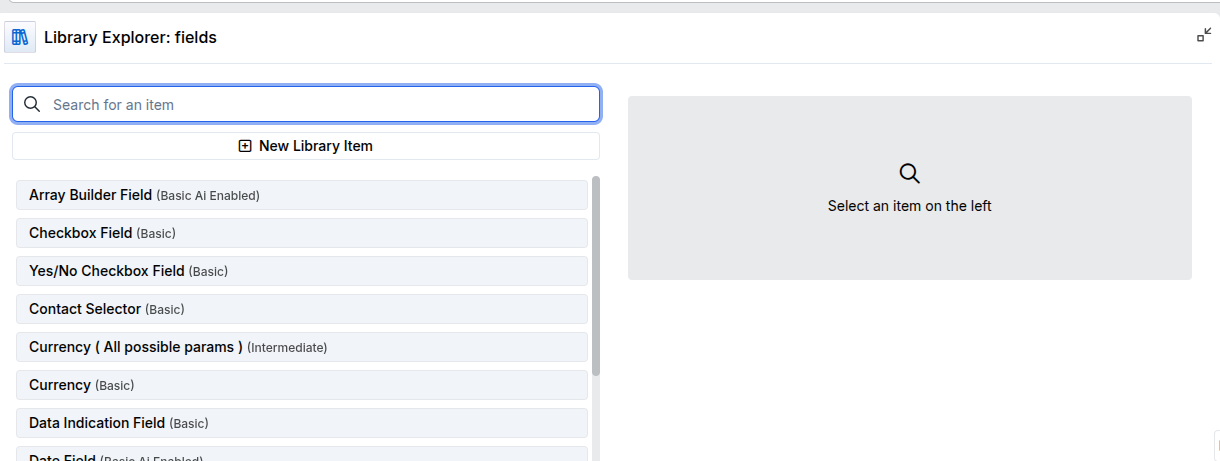
Select the Text field type, then click on Add Field.
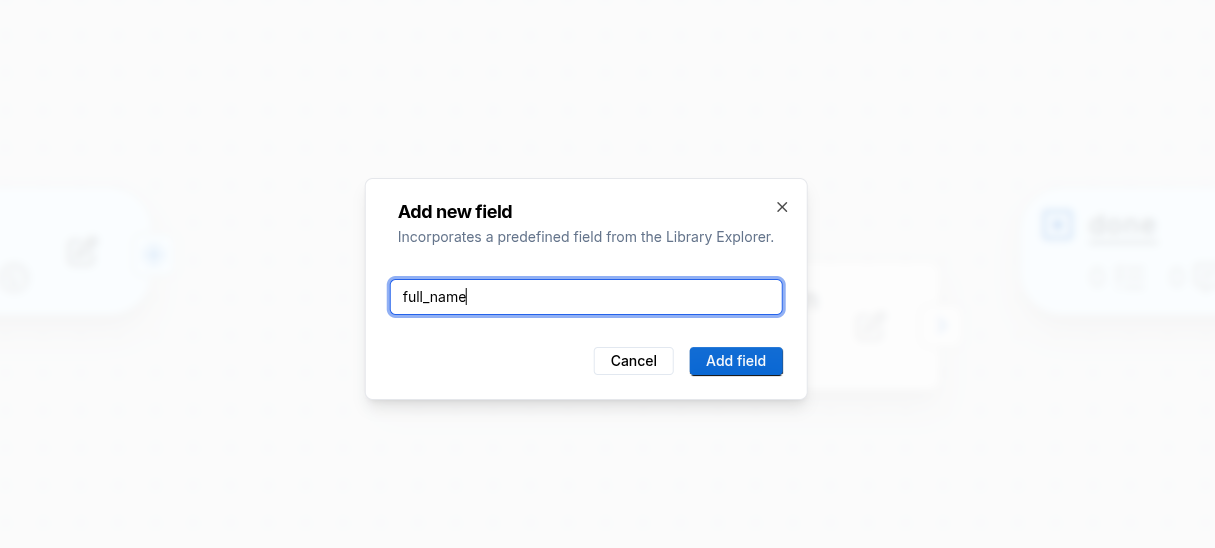
A popup will appear where you can name the field. In this case, name the field full_name, then click on Add Field.
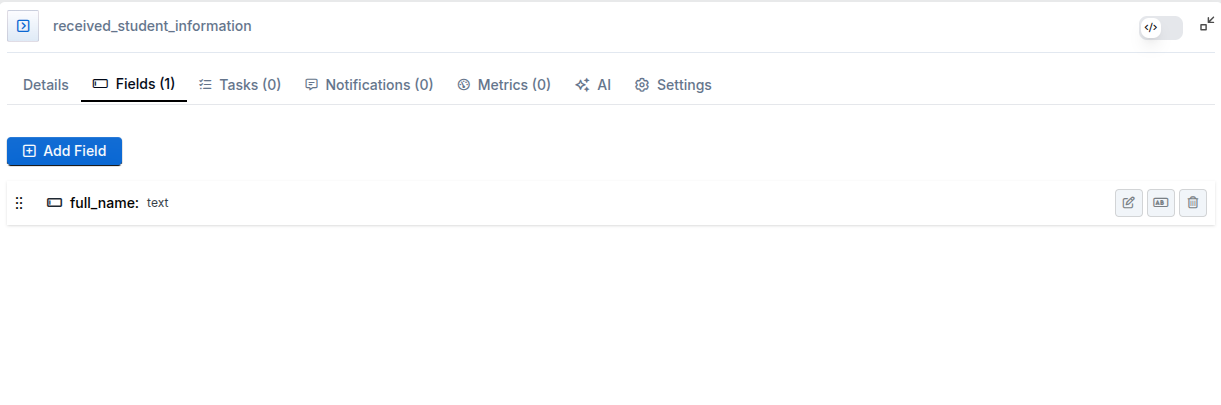
Once the field is created, your screen should look similar to the following:
Repeat this process to create additional fields such as:
id_numberaddressemail
For the email field, use a validated email field type if available in your setup.
At this point, you should have four fields under Fields.
These field names follow a good naming pattern because they are in snake_case, are descriptive, and map clearly to data that will later appear in stub.data.
For more information regarding fields, please click here.
Step 6 - Link the state to the action
Only actions connected to a state can be executed.
Because all new stubs start in the
This can be done by dragging from the pin on the state and releasing on the action.
Step 7 - Identify the next state and next action
Once the student’s information has been captured, the registration has moved into a new phase. A good high-level state name here is
This is a good state name because it reflects a meaningful period in the process rather than a low-level step.
The next action we need is one that completes the registration and loads the student into the system. A good action name is
This is a strong action name because it is conceptual, verb-led, and makes sense in the sentence: I want to register a student.
Step 8 - Create the next state and action
Locate and select the Add State button on the toolbar, or alternatively press Control + Shift + Enter.
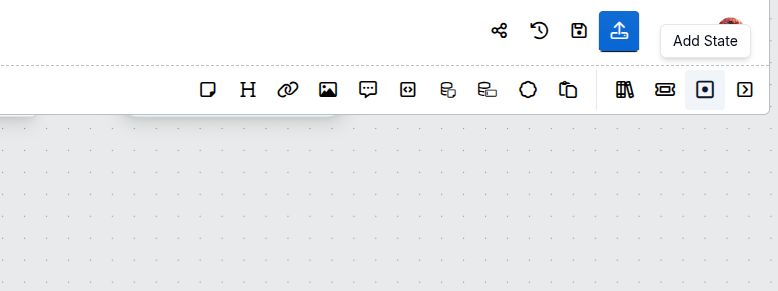
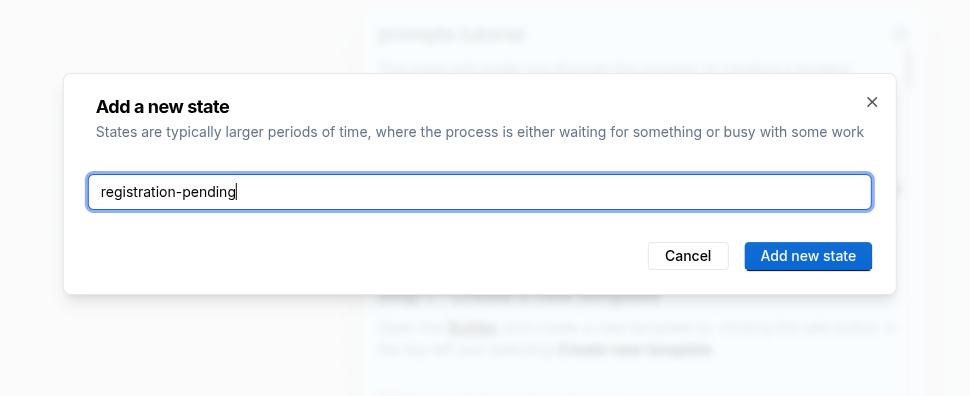
Give the state the name registration-pending.
Tip: A good state name usually describes a phase or period of time. In Stubber, future tense names such as
awaiting-...,waiting-for-..., or...-pendingare often used for waiting phases.
Once you have entered the state name, click on Add new state or press Enter.
The newly created state should appear on the canvas, highlighted in green. Move the state to a suitable position.

Then create a second action called register_student.
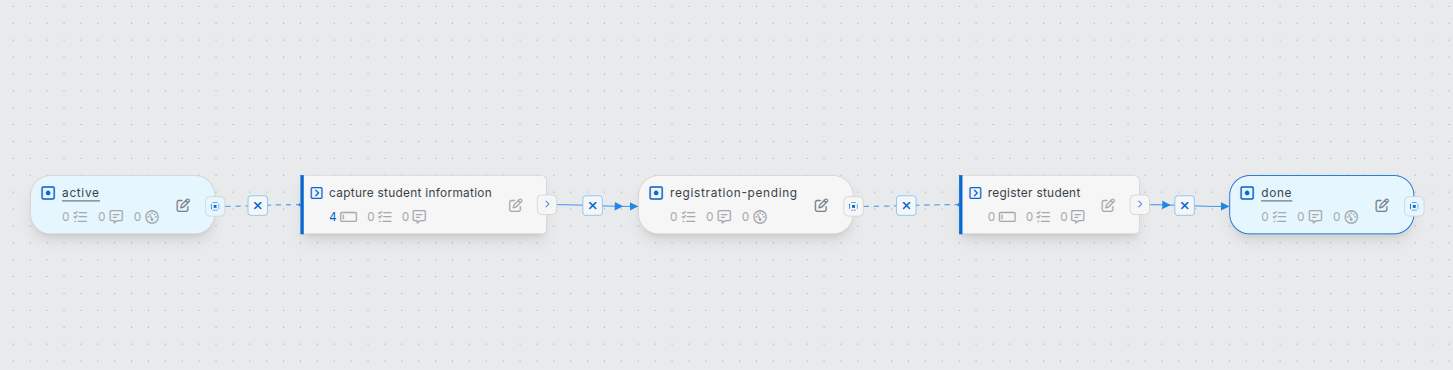
Your flow should now have:
- active
- capture_student_information
- registration-pending
- register_student
- done
Step 9 - Connect the flow
Now connect the components so that the flow progresses correctly:
- Connect capture_student_informationtoregistration-pending
- Connect registration-pendingtoregister_student
- Connect register_studenttodone
At this point, your flow structure is complete.
Step 10 - Generate a student number in the registration action
As part of the
For this tutorial, we will keep the student number generation simple. The student number will be the student’s ID number prefixed with S. For example, if the ID number is 1234567890, the student number will become S1234567890.
There are two good ways to demonstrate this in the tutorial:
- using a
savedatatask with JSONata - using a
codetask
Both options are useful to show because they teach two common approaches in Stubber.
Option A - Use a savedata task with JSONata
Open the
Select the Save data task.
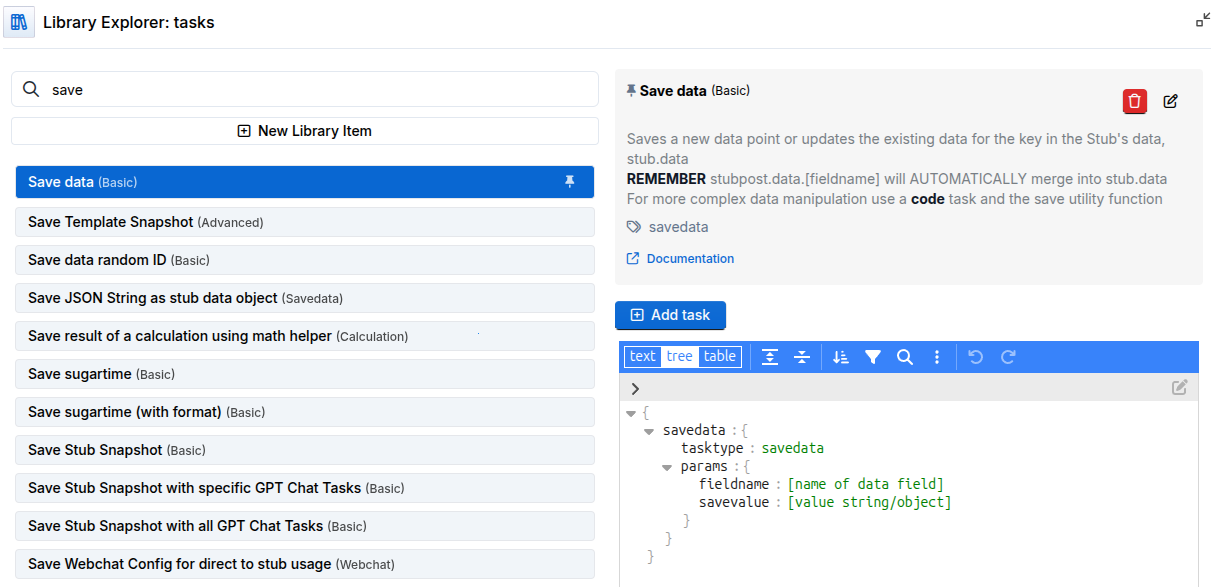
Then name the task.
A good task name is generate_student_number.
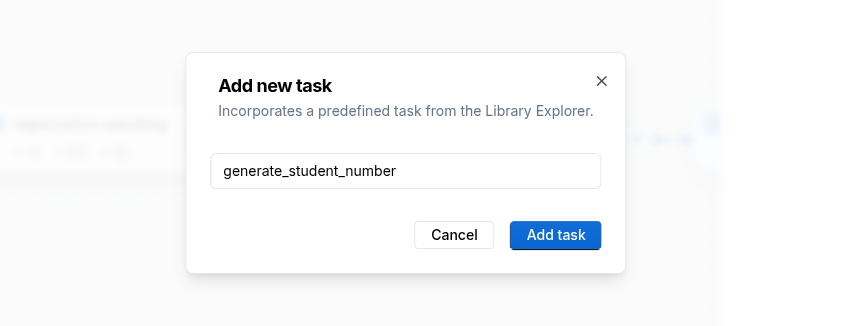
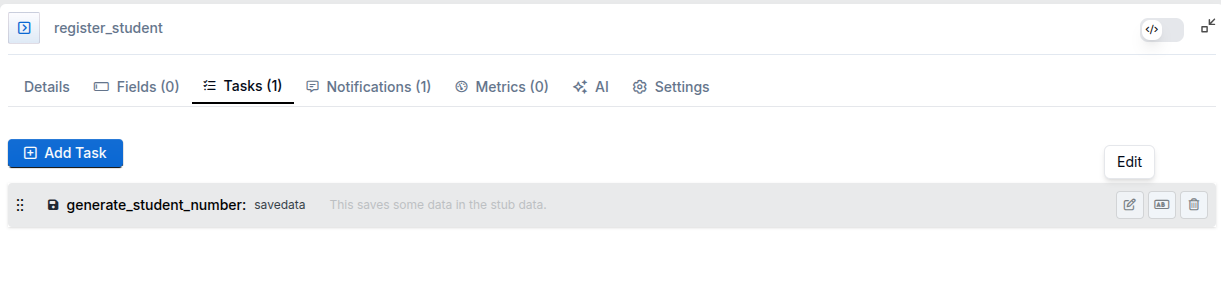
Then click on Add task to create the task. You will then see the new task in the list of tasks for the action. Next, click on the Edit button next to the task to configure it.
Then configure the task so that:
fieldnameisstudent_number- the task uses a JSONata expression to build the value, which joins the letter
Swith the value stored atstub.data.id_number.
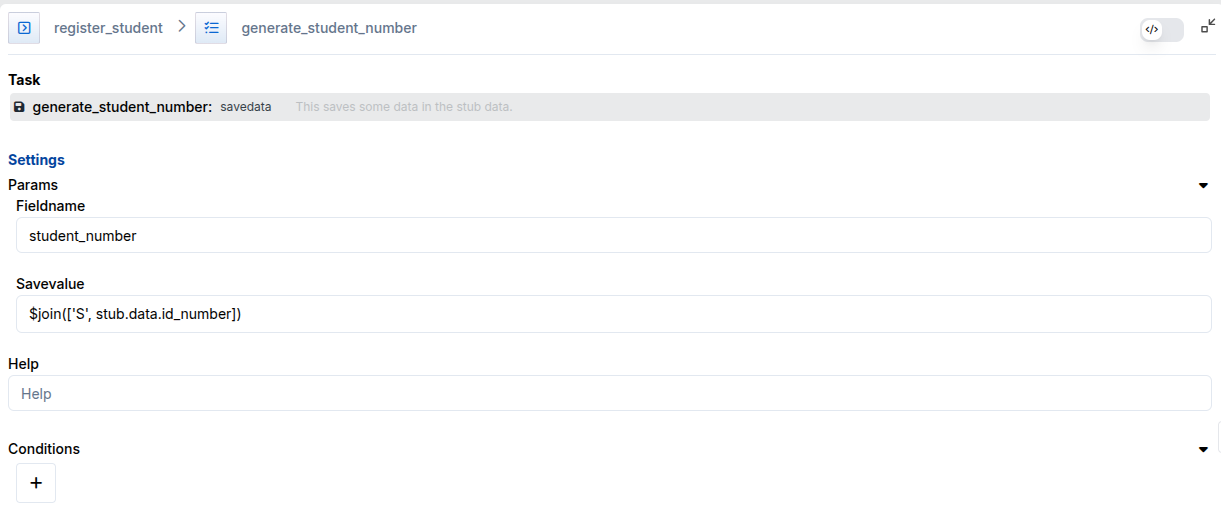
If you use the JSON editor view, the configuration should look like this:
This works by joining the letter S with the value already stored at stub.data.id_number.
Option B - Use a code task
If you prefer using code instead, use this task instead of the savedata task.
Add a Code task to the same action and give it a clear name such as generate_student_number.
Then configure the task to use JavaScript code to generate the student number and save it into stub.data.student_number using _stubber.utilities.queue_savedata.
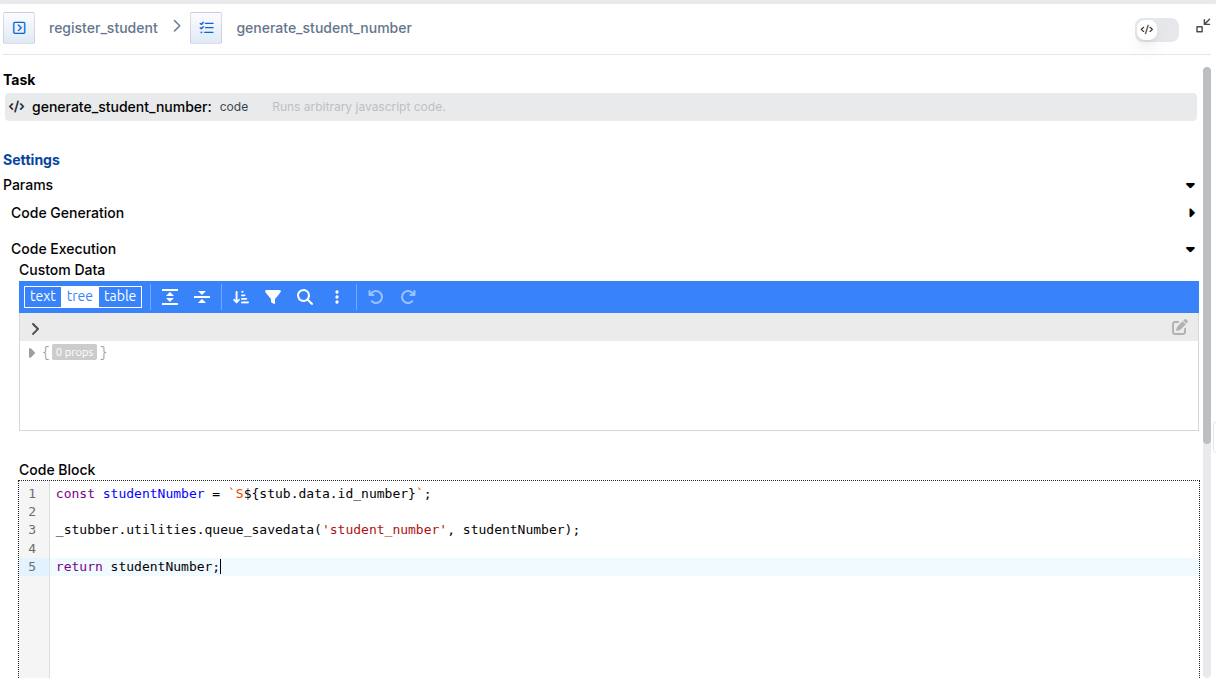
If you use the JSON editor view, the configuration should look like this:
This version uses JavaScript to construct the student number and then saves it into stub.data.student_number using _stubber.utilities.queue_savedata.
Tip: For simple value transformations, the
savedatatask with JSONata is the most direct option for this use case. Thecodetask is useful when the logic becomes more complex. Therefore we will proceed with thesavedatatask for this scenario.
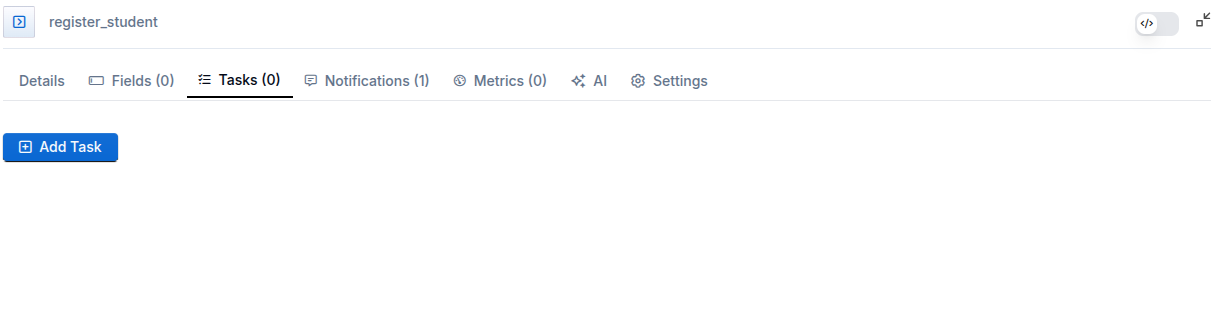
Step 11 - Add a notification to send the registration confirmation email
Now let’s add a notification to the
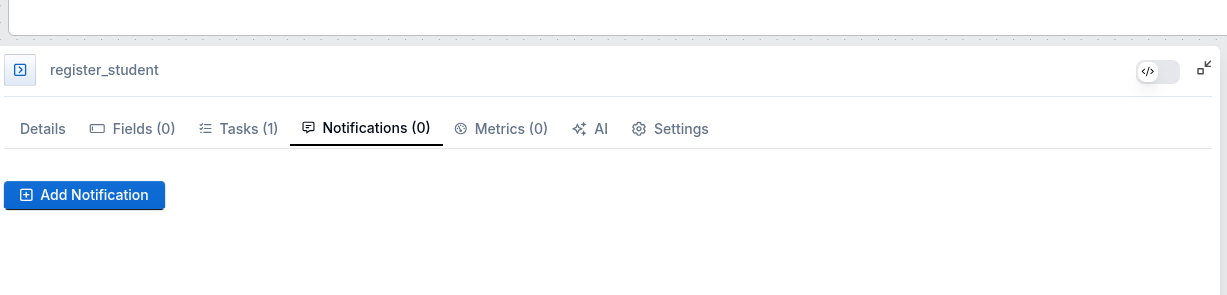
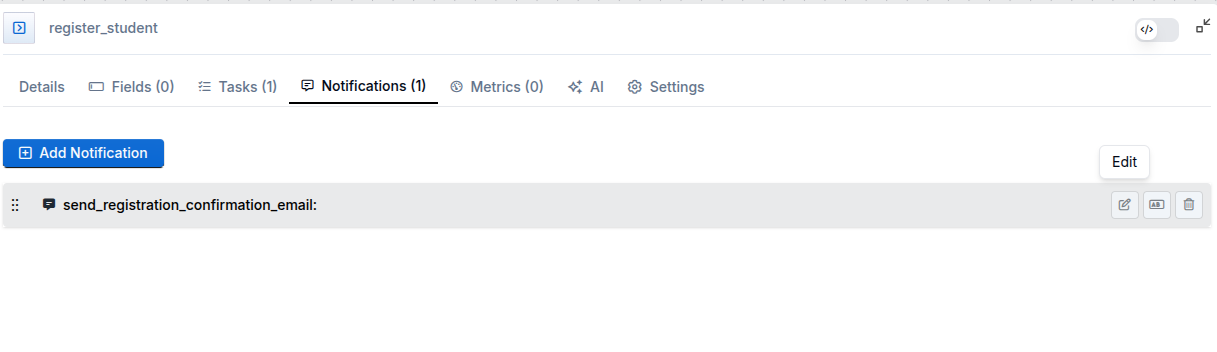
Open the action settings again, this time selecting the Notifications tab. Then click on Add Notification.
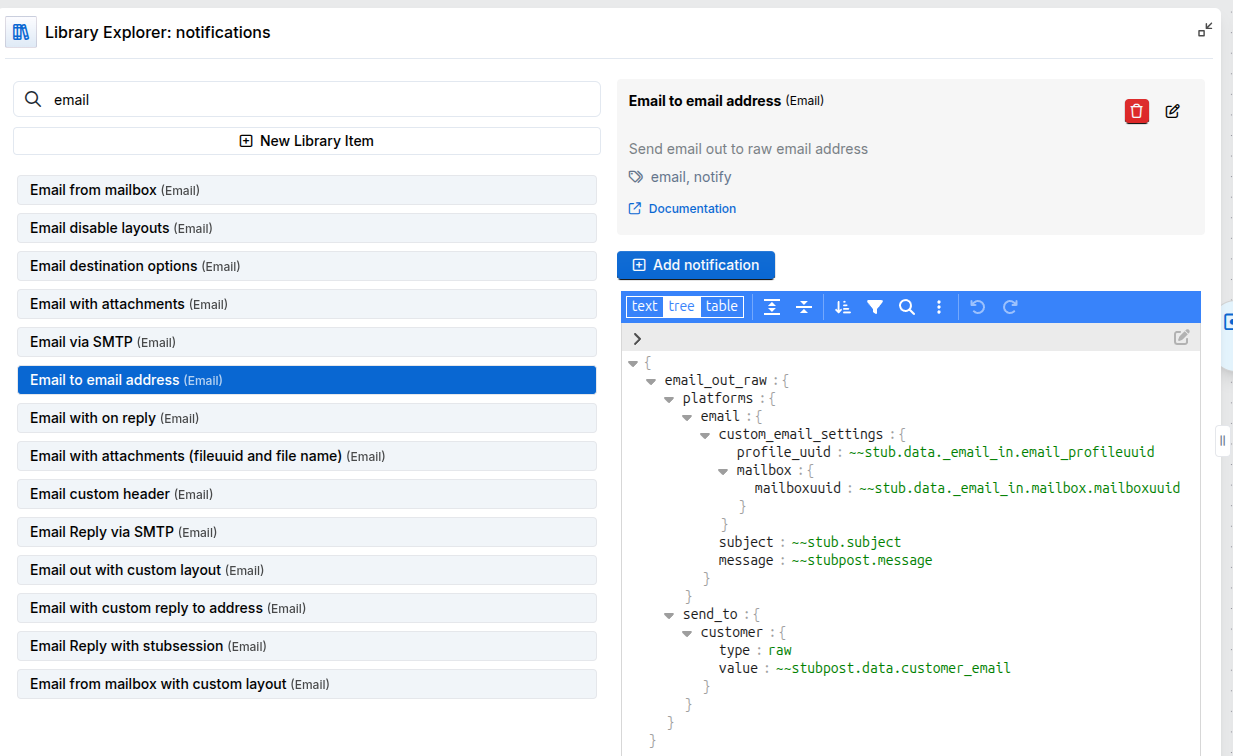
Find and select the Email to email address notification option and click the Add notification button to create the notification.
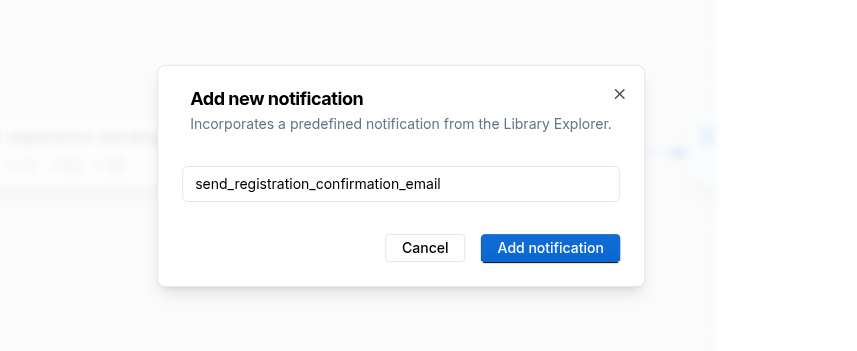
Then name the notification. A good notification name is send_registration_confirmation_email.
Step 12 - Configure the notification
Now configure the recipient, subject, and message of the email notification, by clicking on the Edit button next to the notification.
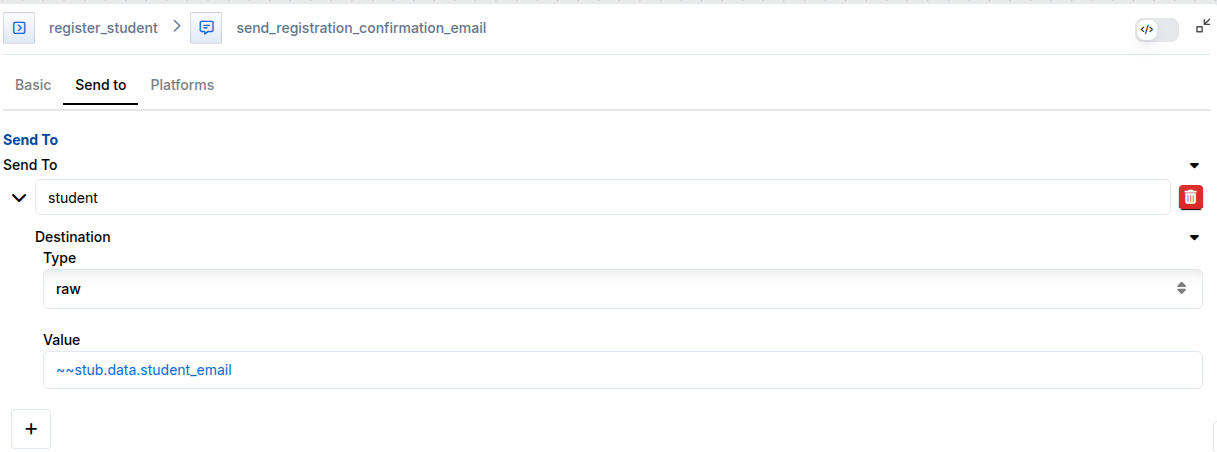
Navigate to the Send To tab, and configure the notification to send to the email address captured in the email.
You can name the send to entry as Student for clarity.
Make sure the destination type is set to raw then enter stub.data.email as the destination value.
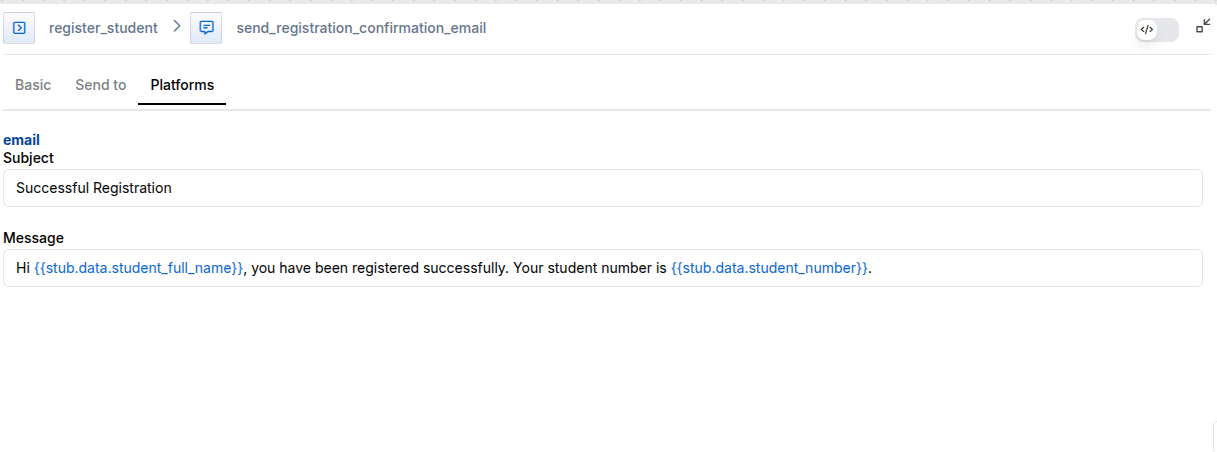
Then navigate to the Platforms tab to configure the email content.
Set the subject to something like:
Successful Registration
For the message, use variable substitution so that the email includes the student’s name and student number dynamically.
A suitable message is:
If you use the JSON editor view, the configuration should look like this:
Step 13 - Test the flow by running a draft stub
Now that you have completed your flow, it is time to test it.
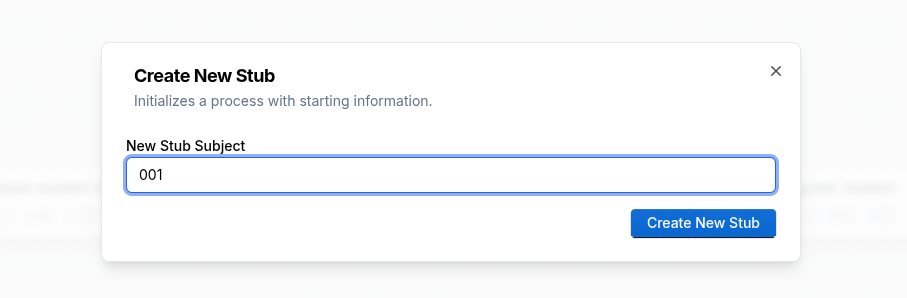
Create a draft stub by clicking on the Add Stub button on the toolbar.
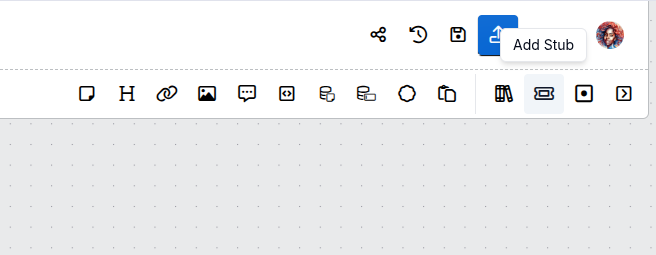
Give the stub a simple name such as 001, then click Create New Stub.
Once the stub is created, you will be redirected to the stub in a new tab.
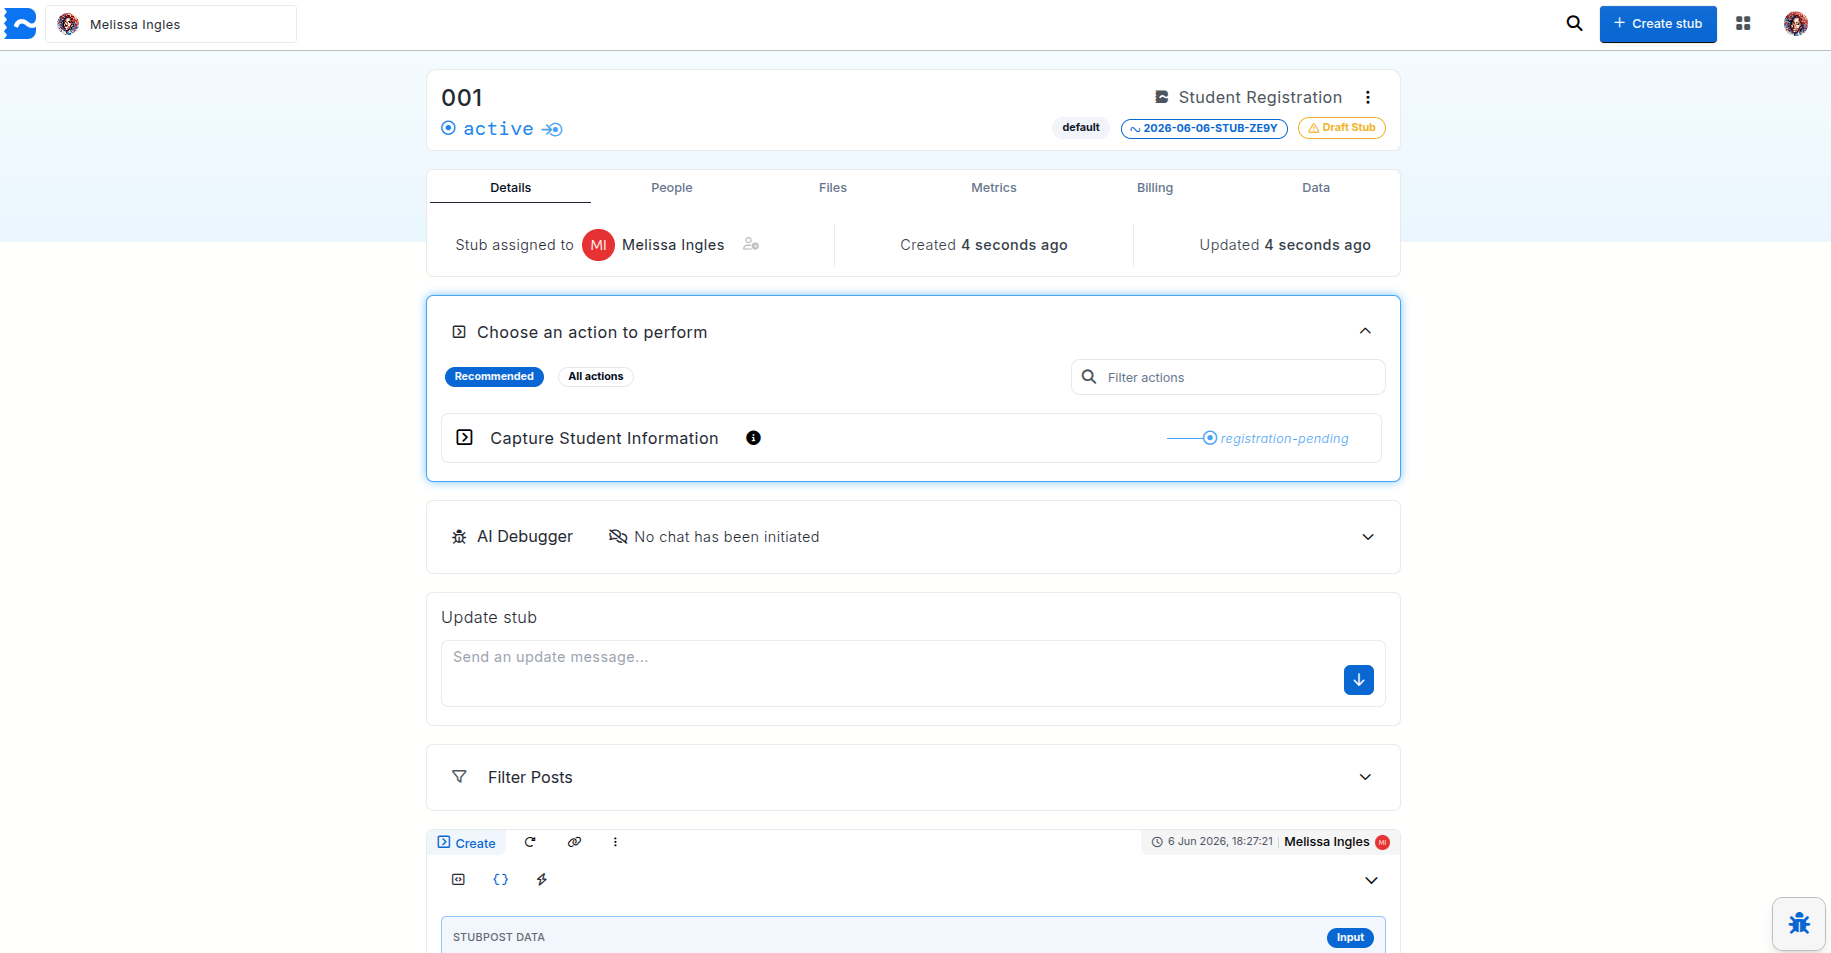
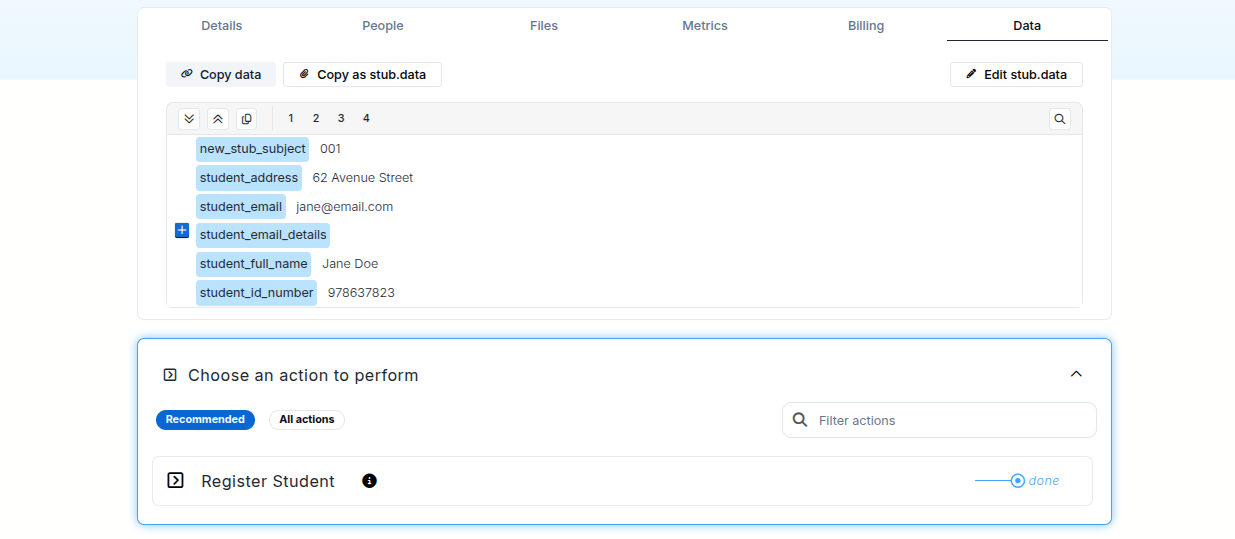
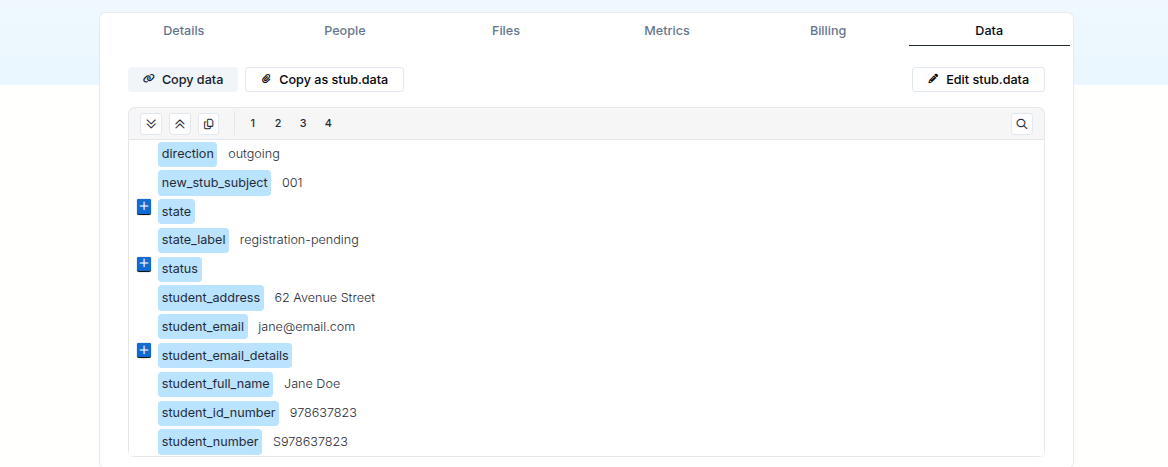
Inside the stub, click on the Data tab to inspect the current stub data. This tab shows the values collected or generated while the stub runs, so it is useful to check before and after each action.
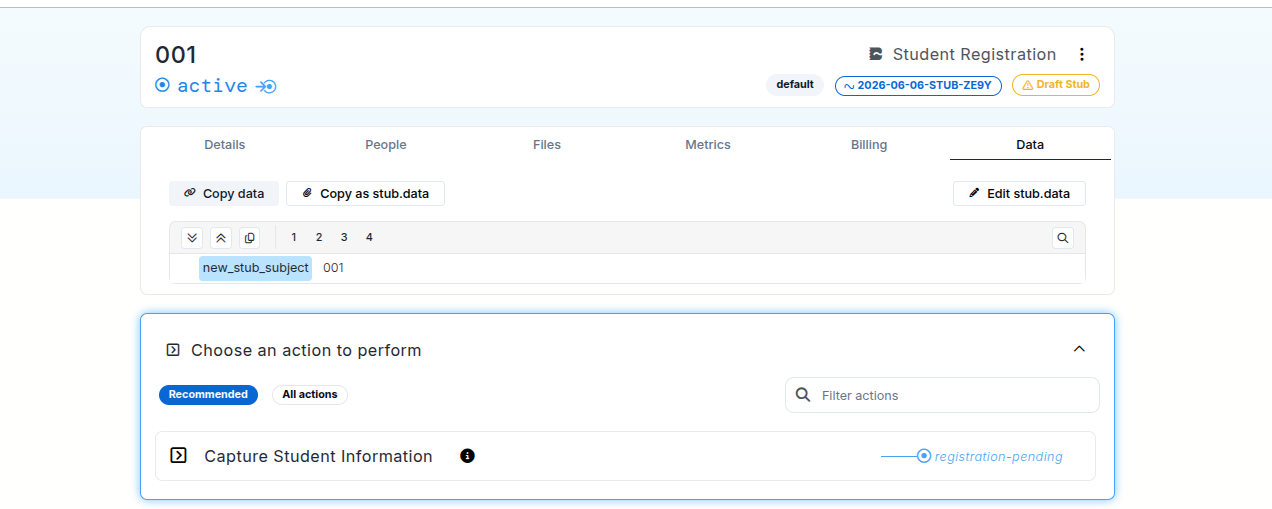
At first, there shouldn't be much data, except for the stub name or subject, defined as new_stub_subject.
Step 14 - Run the first action
Trigger the
A form should appear with the fields you added earlier. Fill in values for:
full_nameid_numberaddressemail
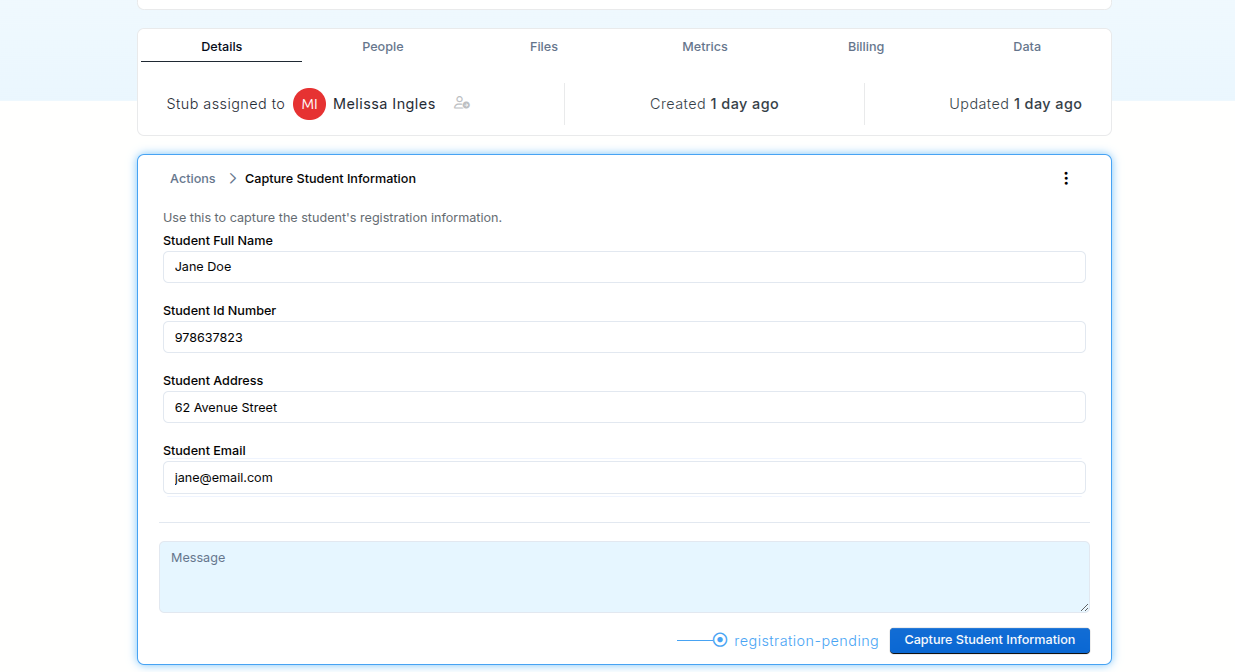
Then submit the action.
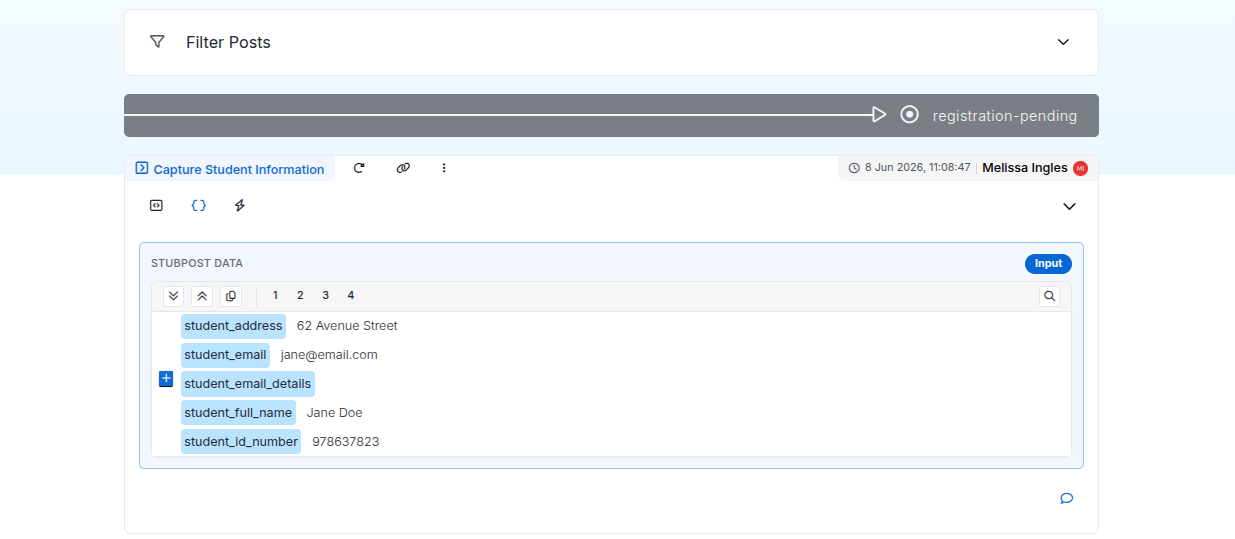
After the action runs, confirm that:
- the captured data appears on the post
- the stub transitions into registration-pending
- the submitted values are visible in the Data tab
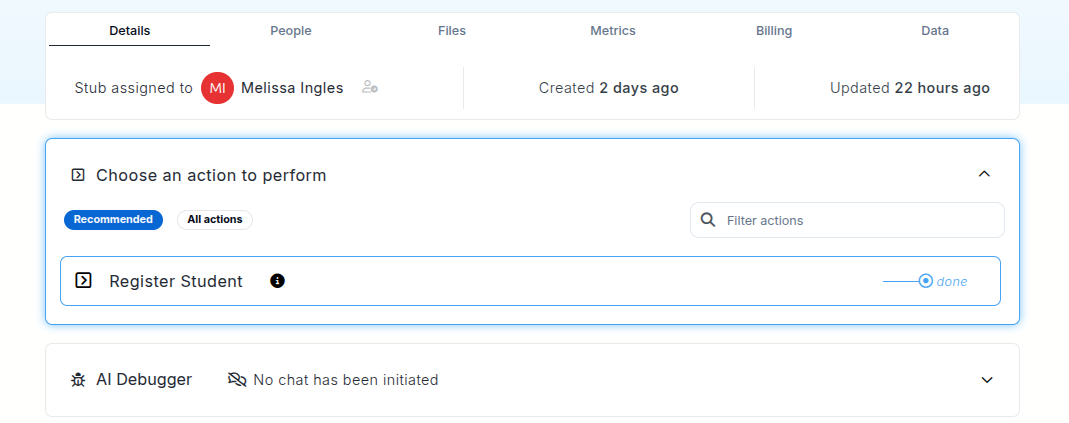
Step 15 - Run the registration action
Now trigger the
This action should:
- generate the
student_number - send the registration confirmation email
- transition the stub to done
After the action runs, inspect the post tasks to confirm that the student number generation task succeeded.
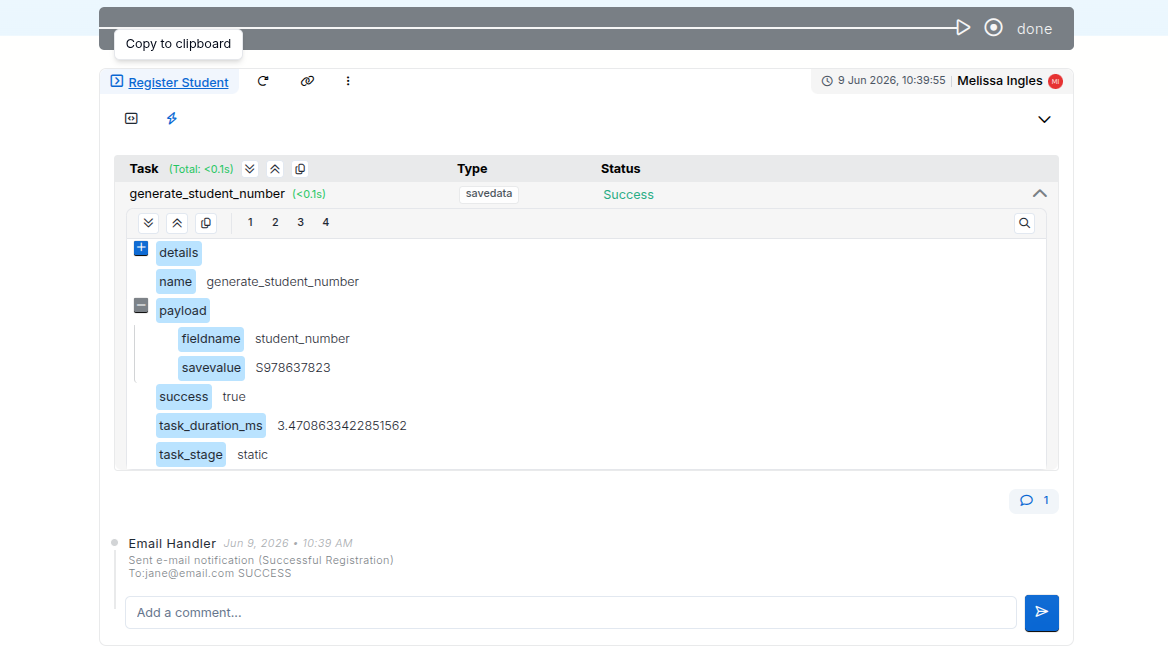
If you used the savedata task, you should see the generated savevalue in the task payload.
If you used the code task, you should see the return value in the task result and the saved student_number in the stub data.
You can also inspect the notification comments on the post to confirm that the email was sent successfully.
Finally, check the Data tab again. You should now see student_number in stub.data.
Congratulations, you have completed the tutorial and created a working student registration flow from scratch.
Naming summary used in this tutorial
The following names are recommended in this tutorial because they follow Stubber naming conventions well:
- States:
activeregistration-pendingdone
- Actions:
capture_student_informationregister_student
- Fields:
full_nameid_numberaddressemail
- Tasks:
generate_student_numbergenerate_student_number_with_code
- Notifications:
send_registration_confirmation_email
These names are descriptive, conceptual, and consistent with Stubber standards.